| Day 121 |
 |
Topping the coaming |
| Day 121 |
|
Topping the coaming |
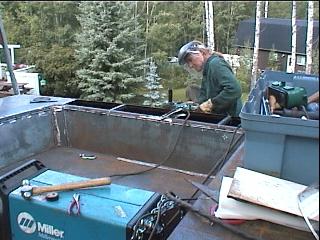
| Putting in the
frames on top required some preparation, a slight curve
to accomodate the plate curve on top. We also placed them where they would offer some support for the winches and mainsheet tackle, but not be in the way of access hatches. |
||
| In the photo
to the right these can be seen clearly. The aft plate had already been marked before the -still somewhat sticky- coal tar was painted in. Gena squeezed in underneath and contortioned herself into place to mark it. Then it was just a matter of cutting it to size. The side pieces should have been as simple but proved to be a challenge, what with their curved sides and slight twist. I admit to having messed up the first one, on the starboard side, but luckily it was still big enough to fit into the port side instead...barely! |
 |
|
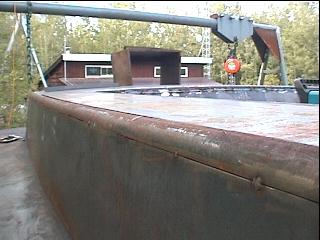
| This day was
long because we really wanted to have it done and primed
before sundown. The grinding became more of a practiced
technique than a "check and grind" method. It
took shape as a smooth non-offensive stucture shortly
thereafter. Once the priming paint was on, what a difference! To look at it you wouldn't know it from wood or fiberglass! -and solid as a rock. We plan on the skylight hatch ( you have to imagine ) being in the center, and large stainless access hatches on either side of it making a great area for storing bumpers and dinghy stuff etc. On each narrow side will be 1 smaller stainless hatch between the winches, for smaller items that are long...poles, paddles ( for the dinghy hehe! ) , bouys whatever. Even those are pretty huge, I can lay down in one, as long as I don't have to move my arms. ( I tryed ! ) |
||
 .
. 
Wow does it
look better primed!
Day 121:
7 hours + 4 hours :
Layed on coaming top plate. Filled, ground, smoothed welds,
primed coaming
To DAY 120 |
 Sales, Service, Installation |
To DAY 122+ |