| Day 169 |
 |
Standpipe
and fill station |
| Day 169 |
|
Standpipe
and fill station |
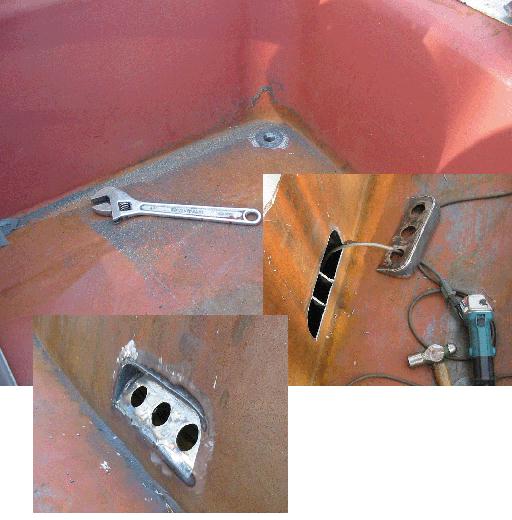
| Finally the seat drains are in! The line running from them was to be just transparent plastic hose, but the stuff just flattened out too easily so we are going to get some braided dishwasher style hose instead. | ||
| Also in the
collage above can be seen the fill station I made earlier
on. Finally it is in place. As mentioned before, the
hoses coming in will be hidden behing the dashboard area
in the pilothouse. The two bars were left as additional support above and below the new hole in the wall. Once painted up it should look pretty cool! To the right, Gena is putting in the waste tank pump out standpipe. Most boats use a seacock for this but we don't really like the idea of those. The stand pipe is totally accessible from an inspection plate in the pilothouse floor above, and is flush welded on to the plate ledge just below the floor. It all worked out nicely don't you think? |
 |
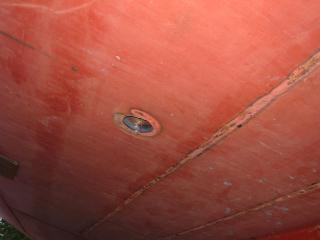 |
All of the
pipes on both sides ( freshwater intake ) will be hidden
behind cupboards and seats with still ample room to acces
them and the watermaker, pumps, etc. Left is another unwelded hole in the bottom to do once we can get the welder out there. |
| Soon we will be inspecting all seams outside, particularily around the bow and keel area, for any cracks in the welds. | |
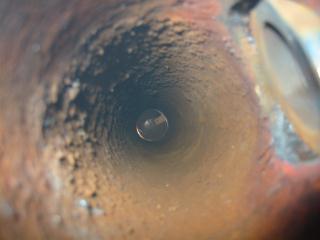 |
This would be
a good time to have the welder down there. To the left is a strange looking view down the stand pipe Gena just installed. It's not as flaked as it looks haha! We will be blasting sand up that for sure! We spoke with a fellow about bare steel pipe under water and he told us it takes years and years to become dangerously damaged, which is surprising. The subject though was the prop tube, I don't know if that would apply here! |
Day 169:
7.0 hours - Cut out and inserted fill station, put in a
standpipe,welded in cockpit drain elbows
To DAY 168 |
Radio
repairs in Canada, your last stop... Email or Call Sandy's CB (780) 986-7433 |
To DAY 170+ |
