| Day 184 |
 |
Finishing the
wood bulkhead |
| Day 184 |
|
Finishing the
wood bulkhead |
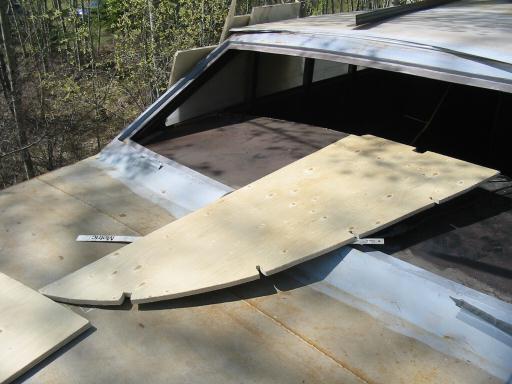
| By hook or by
crook we were determined to complete the installation of
the only all wood bulkhead today. Above can be seen a section of the second layer of plywood cut and ready to try in place. |
|
| Because the ply must be
staggered, this piece is much smaller than it's opposite. The stagger is of course to maintain strength throughout the bulkhead, a good practice in any load bearing structure. In the photo to the right, the framing can be seen tapped into place. We can't screw things together until we have all of the sections cut and fit, removed, and the frames to which it will be mounted calked and sealed. The ply will also be glued to the timbers with PL200 for stability and to prevent "creaking." (We really should have done the floor in the house with this stuff! ) |
 |
After a final test to make
sure all the bolts were going to fit, the aft plywood and
the frames were calked, and attached.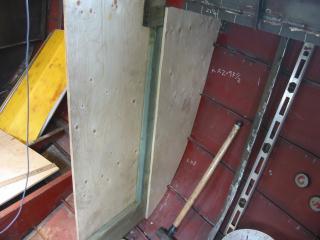 Gena did a test fill with foam between the ply (above photo) just to see how it would work. Eventually it squirted out near the bottom in great amounts haha! Oh well! It's sealed and soundproofed! In the photos to the right one can see the bolts (3/8" x 3-1/2") going through cabintop frame and web frame. |
 Bolts all around!  |
| After all the pieces were in, the nuts were tightened down and the bulkhead became very rigid. | |

Day 184 :
8.5 hours - Finished installation of wood bulhead
| Ici
nous parlons Sandy's CB Shoppe |