| Day 194 |
 |
Crowning the
chainlocker, hatch frame |
| Day 194 |
|
Crowning the
chainlocker, hatch frame |
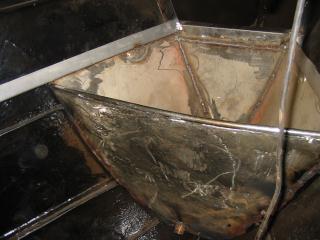
| As can be seen
in the photo above, finishing work was done on the chain
locker. ( Notice the drain nipple ) A piece of SS pipe was welded on top to round the otherwise sharp edge. All edges in a boat should be round as one never knows when one will be projected through the boat like a Monty Python catapult victim hehe! |
|
| The other stainless
surrounding it is for panelling. Most of this SS was
scrap so we thought it would be good to put it to use. In the peak of the bow we may put in a small storge cupboard for perhaps clevises and sail hardware, any thing related to the area. |
 |
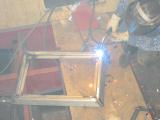 Gena welding hatch-lid #1 |
Gena was busy with this
while I installed and welded the first hatch frame. Now
we'll have to find another thing to hold down the board
over the cockpit entry! I wanted to weld the outside edges of the corners first to promote the hatch lid bowing outwards, but Gena wanted to try inwards. It bowed inwards. The deck camber will have to be ground out of it to aquire a snug fit. The next one will be done the other way (haha!) |
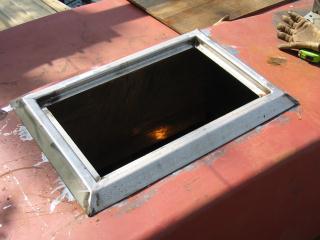
| The height of this frame (
made from bent 2" x 1/4" SS flatbar ) was very
important, as will all of the hatches. The top frame must
sit on a 1/2" thick gasket and also come down almost
flush at the edges. That is taking into account the deck
coating thickness which should be 1/8" - 3/16". The first hatch is over the aft stateroom, and very high. I have some plans for that area that will make the interior look great! The track for the main sheet will be in front, and the hinges aft. During rain and wind this hatch will not be open. Ventilation will be from a mushroom vent.
|
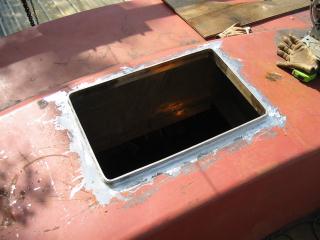 Welded hatch frame #1 into the coaming top |
Day 194:
7 hours - Put in hatch frame, welded up hatch lid, finished in
chainlocker, welded under coaming
 Boats! Stay in touch! |