| Day 230 |
 |
Galley/dining
area cabin panelling |
| Day 230 |
|
Galley/dining
area cabin panelling |
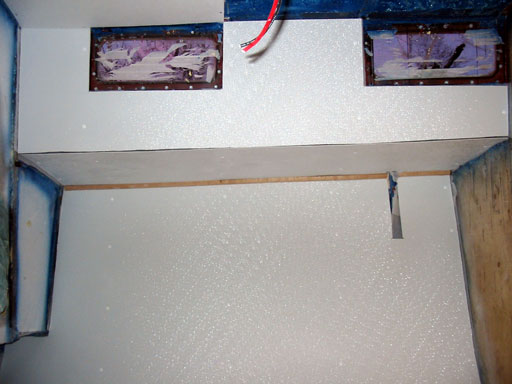
| Slowly the ugly foam is going away, being replaced by a much cleaner and more "even" look. | ||
| Every time I
see the interior, it's a bit of a shock! To permanenly attach the panel to the wood framework, in places, we were going to use "button screws" or panheads that are painted white. This is far and few between as most of those areas will have wood trim over then and will be attached with fine SS screws and counter-sunk. The metal framing is a different story ( as we heard from Brent Swain, a B.C. yaught designer ) because of nasty condensation problems. We've all seen how a window on an RV or car will fog up on a cool morning. This is because the temperature outside cools the glass, which is a poor insulator, to many degrees lower than the interior of the vehicle. This causes moisture in the air inside to condense on the glass. The same thing happens with exposed steel in a steel boat, above or below the waterline - depending on the outside temperature. Even screws that are connected to the steel begin to act like little condensers, and will "drip like a leaky faucet". I have never seen this, but i believe it can be a problem because of the stains I have seen coming from screws. |
  Pushing in a pinecone fastener |
| Our solution is to take away the metal element in the equation, and replace it with plastic, nylon pine-cone fasteners. We had to paint these white also, but they were cheaper black! | |
 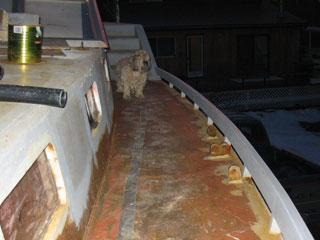 -Little poutine exploring the deck |
These work great in a
1/4" hole, but we injected in some silicone to coat
the bare hole edges before pushing them in on their one
way trip. ( They do not come out at all ! ) They are a bit more brittle than we thought they would be, ie. if you push too quick or go too crooked the head may snap in half. Once in though they seem to hold well, and look great! Origionally, fasteners going onto wood, where there is no trim, were to be screws, but these work excellent for that also. The ones on either side of the portlites are into wood. Once the oak trim is on the edges, things will come into place. The first ceiling panel was test fit, and went in first try . Using the centerline for this was best as around the entry had to be fairly accurate. We're still not sure whether to use plastic corner trim or wood at the cabin to ceiling joint. It is hoped the end-end joiner will work in the ceiling to conect the two halfs together. Uncharted territory on a curved surface. Tip: We used self tapping screws first to hold cieling in position. Once the bugs are out, we will remove them and drill it out to 1/4" for the fasteners. |
 |
|
Day 230:
6 hours - Panelled in cabin sides, galley/dining areas and
ceiling panel #1
To DAY 229 |
Fresh
Nelly Studiocam
Click to go there! |
To DAY 231+ |
|||||||||||
