| Day 329 |
 |
Blasting Hull /
final coat |
| Day 329 |
|
Blasting Hull /
final coat |
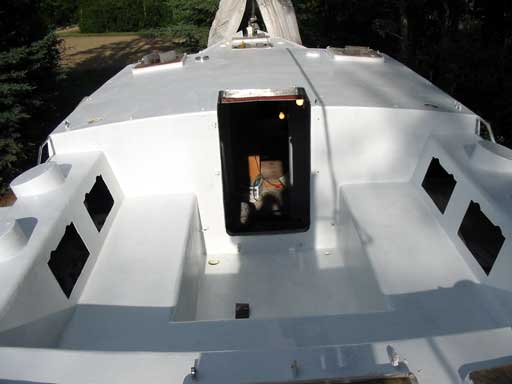
Above is a picture of the cockpit so white and clean! It didn't stay that way for long with sandblasting dust in the air and the odd drop of water flipped of the tarp for it to stick to. I had to resist the temptation to clean clean clean! Gena was right about white. It seems to get dirty really fast. We can't wait to get the deck coat on as after that the hardware/winches/covers can all be mounted and we may have the spare bedroom back! |
||||||||||||||||||||||||||||||||||||||||
| As the tarp had done some minor damage to the
bulwark rail outer corners' coating, I had to sand it down some to prepare
it for the final coat of paint.
There were also the odd blobs or droplets of paint that had been flicked on here and there during our mad frenzy to get the job done yesterday. These were also sanded smooth. Amazingly, we only missed 4 small spots on the whole topsides. These will be repaired as well. The finish with the rollers came up as a stippled texture. A little bit of a dirt trap but not bad to clean. The important thing is that it looks good! Some of the areas that were done while a can was "old", mixed more than 1/2 hour ago, had a much courser texture, almost pointy. Those of course were sanded down. A fine foam roller I tried made a fine rough texture that would be great for grip, but terrible to clean. This was an experiment, and will be covered by the deck coat. |
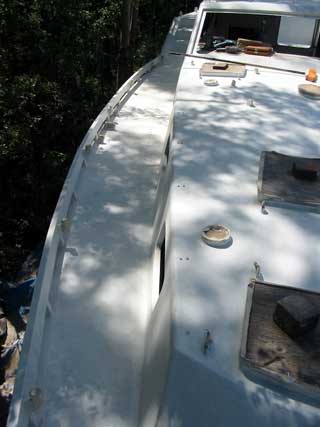 - bulwark rail ready for final coat
|
|||||||||||||||||||||||||||||||||||||||
 |
||||||||||||||||||||||||||||||||||||||||
| The rest of my day involved removing masking tape, which was awful after 3 days. I would recommend to anyone masking stainless to buy the professional 1 week tape ( sometimes green ) and not the cheap house brands like we did. It would definately be worth the money as this has been a 6 hour job and I'm only 1/2 done. | ||||||||||||||||||||||||||||||||||||||||
|
||||||||||||||||||||||||||||||||||||||||
|
|