 |
|
| Today actually began last
night... I decided to mount the handrails for the cabin top and pilot house but realized they hadn't been polished along the way, so it became priority. After all, hand rails are a safety feature in or out of the water. I polished and polished until almost midnight, in the dark, to get a head start on them in the morning. |
||
| Gena had to go
into town to drop off the patterns for our windows to be cut from 1/2"
Lexan. We'd rather they do it, if you know what I mean. We had enough
difficulty trying to cut a new 1/4" top for a lounge-style Pac-Man game
we once had. The first cut cracked and snapped off the corner at $75 a
chunk.
This stuff is almost $700 per sheet. (cheaper than with "Mar-guard" -more on that later) When she came back she started in on drilling the genoa track. |
 Genoa tracks: Lots of hole drilling for Gena |
|
 |
The way this will work is pretty
much explained in the photo. The small holes straight through are for
attachment bolts ( counter sunk ) and the big holes are for the latch pin on
the slider which, in this case, has a pulley on top. There are 6 of these tracks, 1.5" flat bar on top and 1" underneath. Two go forward for the inner foresail while two more go aft on the poop-deck for the genoa aft pulleys. The more difficult ones will be the curved bulwark tracks that lead forward from the lower deck. They must be pre-curved. |
||||||||
|
|||||||||
 What a difference! |
After all of that, I realized that
: 1) polishing with a moderate diameter wheel for the horsepower of the grinder one is using, and applying a moderately indulgent amount of polish, will take out minor imperfections in a large area. ( Large being 2" wide or more. ) 2) smaller areas don't require much prep beyond a fine sanding disk. 3) a flap style sander on the end of a drill is by far the best way to bring any shape to polishable status. The nasty "first use" abrasiveness of 60 grit flaps should be removed on a scrap piece of stainless, until the desired soft shine is achieved. 4) corners and tangents of shapes ( such as pipe ) are much easier to polish and require almost no prep if in new, unscratched condition. 5) while a sanding flap style grinding disk is good for edges, it's NOT good for polish prep of flat surfaces, or anything that must look continuous like pipe or tubing. Because it is a disk, and at a strange anlgle to the flat that you see on the "up" side, it tends to bite into flat areas leaving dips all over the place. This destroys an otherwise smooth surface. |
||||||||
 |
|
| They are good for a non
polished look, or cutting down sharp edges. 6) a belt sander can create a good unidirectional pattern in stainless, good for a non-mirror polished finish. ( Like washroom towel dispensers ) This kind of finish is susceptible to finger prints and must be cleaned often if a flat area. 7) Drill holes after polishing, not before. The holes, no matter how smoothly beveled, will tear the polishing wheel apart almost instantly. (They're cheap, but not that cheap!) Also the polish around the holes will look different from the polish away from the holes. |
 |
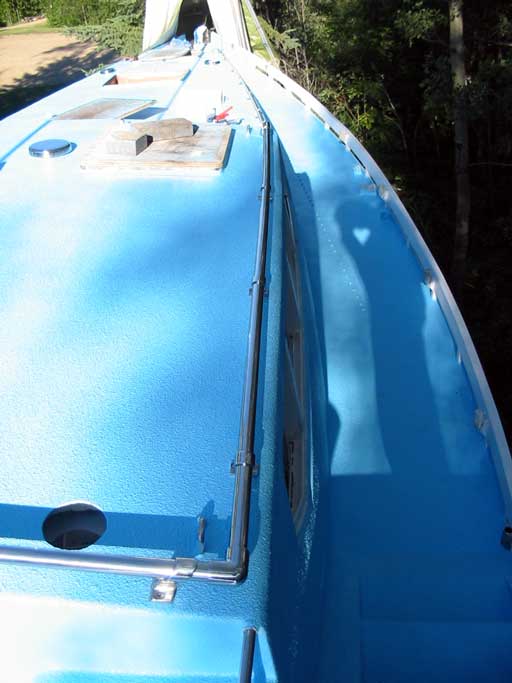
| Handrails polished and on: A thing of beauty! | |
 |
and finally.... 8) Start with a cutting rouge and work up to the white fine stuff. I usually just skip the fine but it does make a slight difference. The difference/workload ratio is too tiny for us to bother with. On small objects with soft edges, a little pressure on the wheel can do a lot of polishing quickly. Just remember to keep rouge on the steel or wheel or the wheel itself will become polish and disappear. I have discovered that a Dremel with its' tiny polishing wheel works great for difficult areas. |
| Gena ventured
into placing the deck switches for the windlass ( shown in photo above )
into the deck. They only require a couple of small holes for the wire and 3
for the screws. She suddenly asked me about where they should be located. I always felt they should be as near to the bow as possible so one can spray water on the chain as the anchor comes up to clean it of seaweed etc. while still standing on the switch. Gena, having given this more thought than my 15 seconds, warned that the chain would be too close to ones feet up there and may become a hazard. With my barefoot habits this is likely a real danger. It was decided to put them next to the chain locks where there would be some protection. I did a "reach" test and yes it will still be possible to wash the chain before it disperses the ocean bottom on to the foredeck. |
|
| Fingers can be used to
activate them with the cover down, but for foot activation the cover must be
flipped up. Ingenious! The final note for the day is on the preliminary portlight frame design. I cut one out of 1/8" SS plate and shined it up. After using some large drawing paper to template the holes, then drilling them, I found the holes to be inadequately inaccurate :D ( sorry! ) so a different method of marking, possibly using the windows themselves ( they are transparent after all...) as a template may be better. As to whether to polish them or paint them is still up in the air. Maybe both! |
 |
Day 333:
10 hours(+): Polished all 4 handrail sets, drilled 90 holes in flatbar for
tracks, mounted deck switches, made test portlight frame
to Day 332 |
 FRS, CB, and VHF sales and service |
to DAY 334 |
|
|
