| Day 380 |
 |
More Doors Floor
hatch Rdg lamps |
| Day 380 |
|
More Doors Floor
hatch Rdg lamps |
| Sorry about the amount of photos on this page, ( slow loading for dialup users! ) there was just so much done today, it was a "jour sans fin" it seemed. I worked that night until late, just to get everything done I had planned before we had to waste a day going into town for supplies. | |
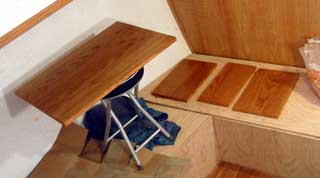
| Gena decided to fix the floor
hatch forward under my desk at last. It has been rocking back and forth
since the day she put it in, over 1 year ago. We always thought it was
because of a high center web frame, but as it turned out, the actual whole
thing was warped up. Too bad we couldn't have noticed before the PL-400 glue
dried. It's impossible to get off now. She sanded hard on it to get the
"bulge" out of the ply. It seems to have worked as it now fits like a glove! The hatches are held into the flooring groove by 3 heavy springs inset into the end on the berth side. She also mounted the 4 flush latches for both hatches. |
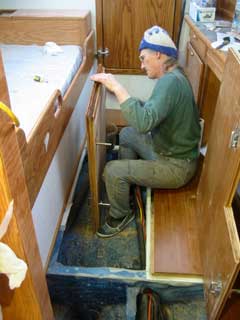  Problem floor hatch |
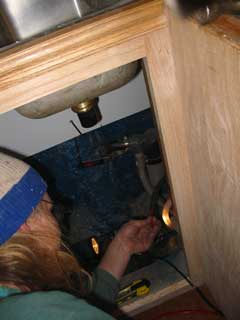
| The rest of her day was spent
figuring out the final position for the watermaker and related plumbing. She
is hooking up the pre-feeder pump, this is to ensure that sea water can get
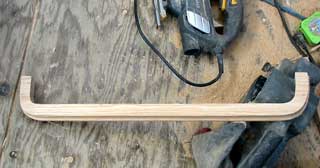
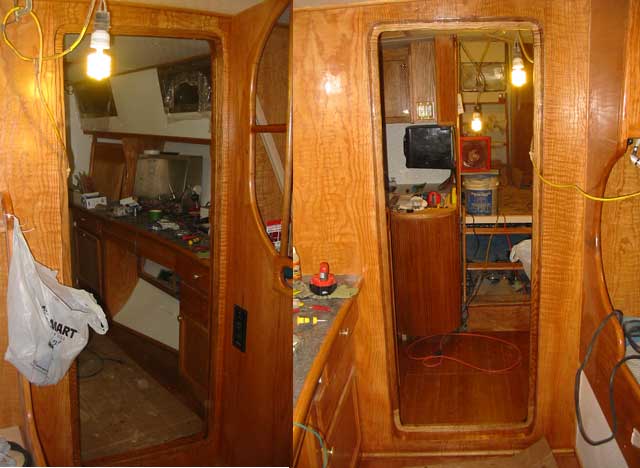
to it before it becomes high pressured by the piston pump. I continued making doors, and door related things. The coolest of the day is this tambour faced door. I simply routed the frame ( top of page photo ) and made sure the tambour would line up, put it together and glued/ nailed the tambour in. Perfect! |
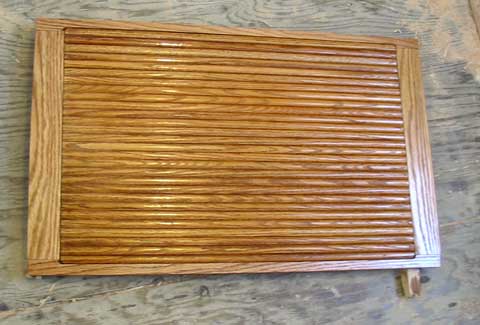 Cool "tambour" door to match galley's island counter |
 |
|
| The other door the will go under
the galley counter is just solid plywood as it isn't very visible, and we
must save some tambour for Genas' desk. I also made and veneered the small galley doors for the over heads around the sinks. Iron on veneer is pretty easy, and looks great, although, I think it's important to give it quite a few good coats as I have seen it peel off in a marine environment. Not pretty! |
 Veneered 3/4" plywood galley doors |
| That reminds me of a saying I
heard somewhere, and that I may have mentioned already. It sounds something
like the manual head flushing law: Give the wood enough coats that you think you're wasting varnish, then give it some more until you think you are being ridiculous, then one more just to be sure! I don't know, maybe I made it up... |
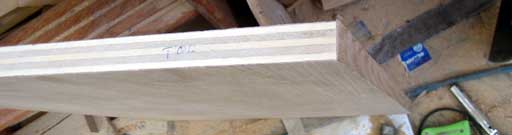
 Gasket support frame routed in for lip |
| To the right is a (ugh!) purchased
( not made by me / my vents aren't good enough - ah ha! -/it cost way too
much for such a small piece of oak ) vent. Gena bought it, mounted it, mounted the fans to it, and drilled the holes for the switches into it. I must admit, it looks cool. I admit having touched it as she was going to put it in without being coated, like bare! I had to intervene before it was too late. ( coating with stain so close to the white panel always leads to a messy disaster! ) Anyway, 'nuff said. Looks good :) |
 "imposter" vent! |
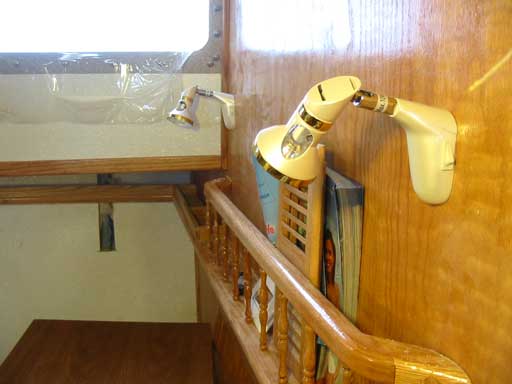
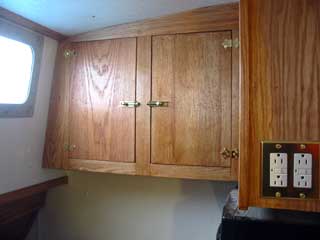
| Gena found out we had 6 reading lights instead of 4, so went crazy mounting them everywhere. Reading lamps are nice, but the halogen things inside must go in lieu of LEDs. (Although I only ordered enough M-16 led bulds for 4 lamps and one spare.) Besides that they are cute! Notice the 3 prong lighter plug. Good for guests if they need to charge cameras, or have other portable stuff. |
|
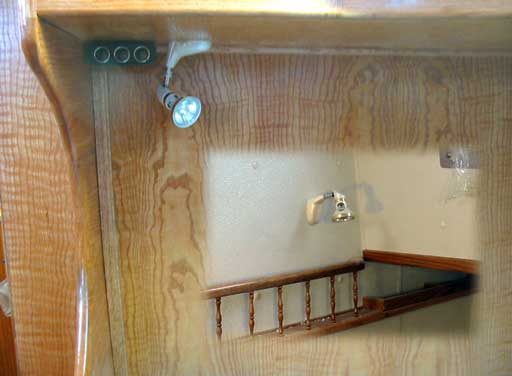 Reading lamps popping out everywhere! |
|
 |
|
| Anyway, I didn't stop with the doors, I mounted them and put on the latches, a rather tricky affair as the drill just barely fit into the with of the opening. | |
| For the cabinet behind the dual
plugs I will need to use the routers' snake tip with a bit. In solid oak,
those little screws need the hole to be predrilled or they'll just
snap off. Below is the door frame from both sides, gasket seat in place with 1 coat of oil and one coat of tinted varnish, ready for the door. I guess I'll be making that next! The pictures don't do it justice |
 |
Day 380:
13 hours - Made galley cabinet doors, under counter doors, framed large door,
tested pump fit
To DAY 379 |
|
To DAY 381+ |
