| Day 399 |
 |
Pushpit/ faucet |
| Day 399 |
|
Pushpit/ faucet |
| After 23 hours of polishing,
the radar arch was put back into place so the stanchions in the pushpit
could be cut and mounted. I have watched people briefly in boatyards
putting on stanchions and didn't think there was much to it. Somehow it
took my whole day all the same.
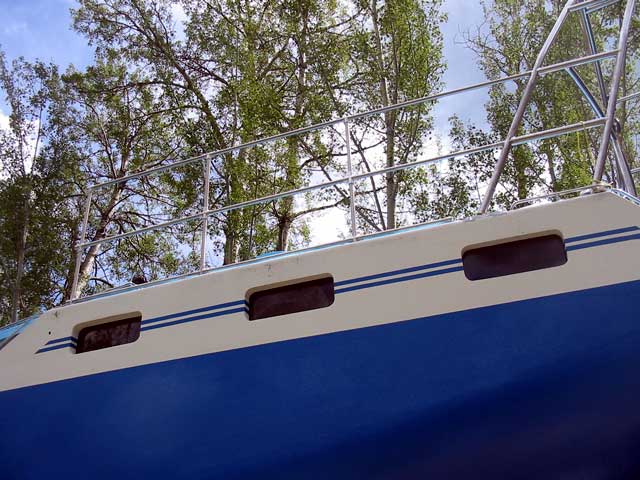
The standard height on most boats this size seems to be around 30" to 32". We have read that this height won't stop you from flipping overboard when flung against it. It's all in the contact point. If the rail is below your hip, the point of balance is into the leg which can bend enough to throw your balance over the side. If the rail is at or above hip height, the chances of going over is greatly reduced. Find a hand rail and try it, it's amazing the difference 4" makes. Production boats are generally lower because it makes the boat look larger, sleeker, and more proportional. We don't care about that so much as we're already sold on her. Ours will be 36". |
|||
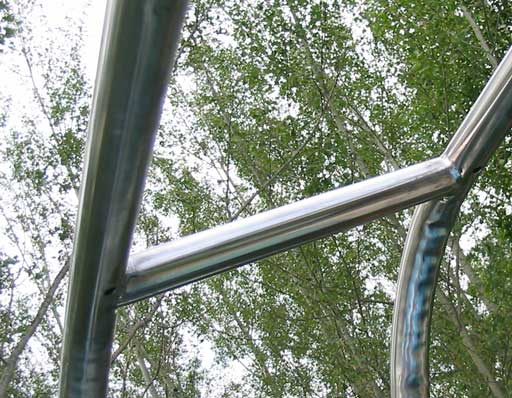 |
The arch has 6 holes drilled
underneath to feed in the various cables for antennas, lights, and
radar. As the tubing leads through into the interior, it may not be a
bad idea to foam the bottoms of the legs and drill a small hole in each
for drainage. I saw this method used on an opened mast, so halyards
could be fed through down the center instead of outside the mast. He
also poured in some epoxy to seal it. The center rails (top photo) are a thinner tubing we purchased cheap because it was an unclaimed order at the metal supplier. I wouldn't use it for a top rail or stanchions, but as a toe rail and center rail it works fine. Strong enough to stand on. These were cut up and polished to fit between the cross connectors. 12 pieces. |
||
| It all feels quite strong to
lean into, and is probably safer than cable style. Note: If anyone is looking for some thin 1" SS tubing, we have plenty left, and will let it go cheepity cheap. They are 20' lengths so it would need to be picked up. mailme |
|||
|
|||
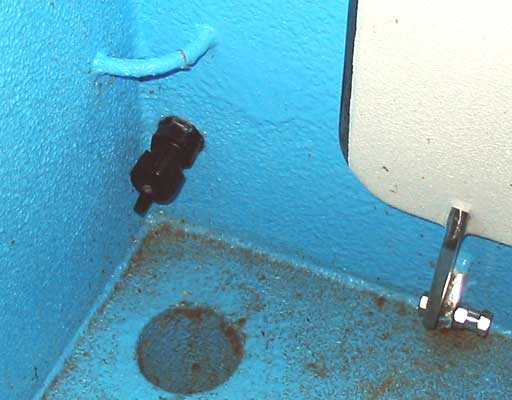 Yuk! Time to clean the cockpit! The faucet hidden under lifeline eye. |
It was quite a search to find
a fitting to do this! All of the home style faucets are made of brass or
straight steel, are bulky and look awful. This one ( photo left ) is
compact with a flip off cap and valve all in-line. The lifeline eye
above will protect it from feet and heavy objects. There is an inside shutoff for this tap, just like in a house. Unfortunately we threw the package away and can't even remember where we acquired it, but anyone looking for one of these at least knows now what it looks like! |
||
| More stanchions are on the
way. We purchased a good portion of the tubing "used" but still in the
plastic wrapping. The guy told us one pipe was bent of the 5, but it
turned out all 5 were bent. As can be seen below, they aren't just bent
one way. :(
I managed to straighten one using the 2 trees growing from one root near the front of the yard. And we were going to cut them down! |
|||

Day 399:
7 hours:
Mounted radar arch and stanchions around pushpit, ran water line and tap in
cockpit,
To DAY 398 |
 Revive that old radio! |
To DAY 400+ |
