| Day41 | 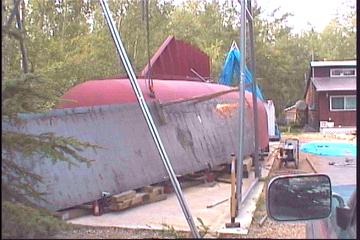 |
Putting on forward starboard side plate |
| Day41 | |
Putting on forward starboard side plate |
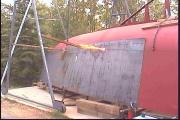
| Today we put up
the largest of all of the pieces of plate. 23' x 5'. There was some difficulty getting the plate aligned as it was just big enough hieght-wise to reach 1" below the sheer-line up to the radius plate. In the pic above you can see that we had to push it in near the center to facilitate a close fit for cutting. |
||
 Cutting along radius plate |
 Grinding even for butting |
 Grinding bow edge |
| The methods we
learned yesterday worked just fine again today. Each time
gets easier as we know what to look for and how to avoid
problems with butting evenly. Keeping the plate in tight before cutting assures an accurate cut Don't force plate in too tight and always look ahead for the possibility that it may bind together too tight as welds shrink. Make sure the plate that you're butting against is fair in the first place. |
||
 |
If there was a bad area in
this part of the hull, the "wet primer test" ( I made that up! ) would surely show it. I have other photos of wet paint but due to loading time on the net I'll have to hold off on that one! Just a preview of the finished hull...it's very inspiring. |
|
| At
last the hull looks like a solid entity. Of course many
curious neighbors came by and expressed their congrats. I
guess it's hard not to notice as one is driving by. This
was a long weekend and we feel as though we accomplished
a lot in three days. Didn't relax or go swimming or
sailing at all, in lieu of planning the "big"
holiday! Click here for a look at the whole thing! |
||
Day 41:
7 hours: Put up forward starboard side plate, trimmed fair into
stem.
Revive that old radio! |