| Day 423 |
 |
Rudder final Pedistal
final |
| Day 423 |
|
Rudder final Pedistal
final |
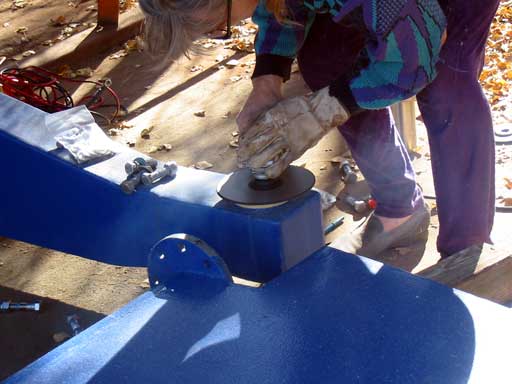
| OMG!! What is she doing??? Oh! The
bushing, not the steel. Sigh! I noticed the smoke show from a distance. The final fitting of the rudder required another 1/8" clearance. Gena had no choice but to cut the bottom bearing down a bit with the grinder. |
 Bushing cut down 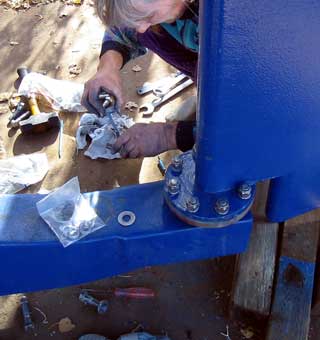 |
It took some time but
finally she got it. The problem is the bearing was a little thicker and the
clearance to the hull after the coats of paint etc narrowed the space down
to < 3/16" from the hull. Now there's a good 1/4" again. Originally, the bottom bolts (photo left) were going to aim down, but that meant washers would need to be added because of the now reduced height. Somewhere we have heard that washers aren't a good idea for one reason or another so we'd rather not. Gena measured and figured the bolts could be inserted from the bottom flange up before the rudder was on. I was skeptical but hey, it worked! Just. Now the rudder is happily in place, it can be filled and we won't have to worry about it for a long long time. According to the bearing manufacturer, Thordon, it's the best there is. |
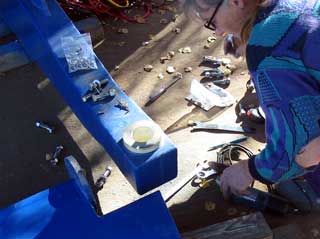
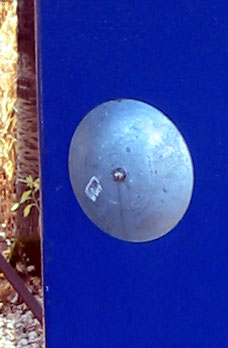
| I finally got around to doing the polishing and smoothing of the pedestal. And brushed the handrail with abrasive pads to give it back that "look". All in all it worked out quite nicely. The base is pretty with nice "toe friendly" edges. I still need to polish the "disk" and drill the 2 holes to mount it. A soft gasket will be attached to the inside lip of the head, but left open on the bottom for any water to drain out. | |
The base is to sit on a 3/16"
rubber pad. This will take up any curve in the plate in the floor of the
cockpit. It looks pretty flat though.  The
rubber will also act as a shock absorber if someone falls into it. A bit of
positive physics there. The
rubber will also act as a shock absorber if someone falls into it. A bit of
positive physics there.I can only silicone the rubber to the floor as the pedestal will need to be removed and flipped down for hauling because of it's height. The little hole is for the wiring for the horn switch, compass light, and my pedestal display unit. The center hole is of course for the chain and
the shift /throttle cables. I've done my best to keep everything straight
so I hope it all goes in without any problems. I tested the cables through
the loop, not visible in the photo, and it looks like they'll clear the
chain by at least an inch.
|
 |
Day 423:
9 hours: Made rubber gasket and polished pedestal. Put rudder in place.
| Replace
this button with a link to your site, mailme ..to Main page |
 I
always get stressed out when we go to put it back up again. Worrying about
it falling on to the concrete and getting damaged, or falling on one of us.
It must weigh 250 lbs at least, and it'll be even heavier once it's full of
oil, which is her next project.
I
always get stressed out when we go to put it back up again. Worrying about
it falling on to the concrete and getting damaged, or falling on one of us.
It must weigh 250 lbs at least, and it'll be even heavier once it's full of
oil, which is her next project.