| Day 441 |
 |
Headliner/ potpourri |
| Day 441 |
|
Headliner/ potpourri |
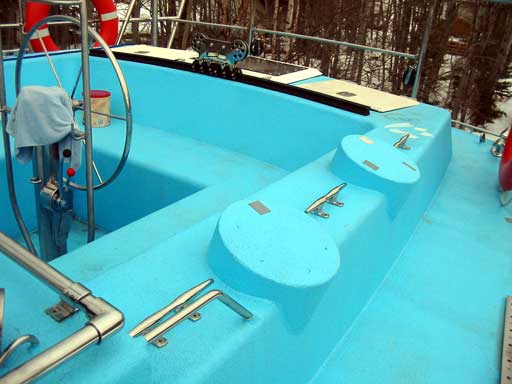
| Another addition to the cockpit
was six 12" cleats installed by Gena today. They don't look 12" but they
are, honest! These beauties are part on a dozen we purchased from a shop
clearing them on eBay. I can't remember how much they were, but it was 1/4
of the price in any store. They are pretty impressive aren't they? Gena bolted them through and used washers and nuts inside the coaming locker, sealed with silicone. The holes are slightly oversize to allow room for the silicone to do it's job. We do know silicone sticks to Color your Hippo like a bugger, so should seal well. I didn't insist on a plate here because if a leak develops here, the water will only drip into the locker, which, if you have been following the site you may recall, drains into the cockpit drain pipe. I did a few different
things today to take a break from doing the davits. The first, and most
important ha ha, was to get our LCD TV mounted and all of the wires hooked
up. We have a really functional setup here.
|
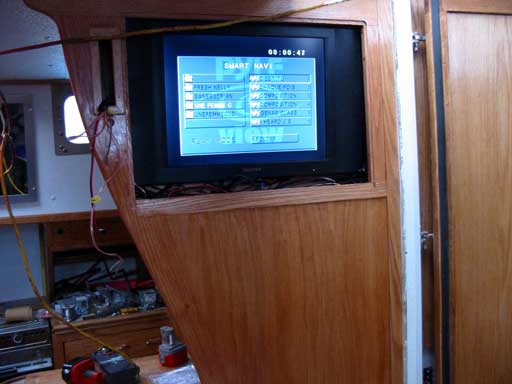 |
| Because the TV has several inputs,
I made maximum use of it's abilities. Here's what's going in/out: Video from the DVD (which has it's own external in for camcorder etc) Video from radar, through switch Video from the Mast Cam, through switch Video from the dash PC tablet Audio from the DVD Audio from the PC (isolated) TV antenna in from Antenna switch at my desk Audio out to Stereo for "big sound" On top of
all this, the MastCam and radar video is fed to the dash PC via a video
capture card. It's all pretty cool! It can all be switched be the remote.
There is also the option of feeding video from my desk as the MastCam line
goes there first. Yay! Everything works! |
 |
| It may seem a little extravagant,
but this it going to be our home, and we like a good movie now and then. A
lot of video we have is in divX format to save space, that is a good reason
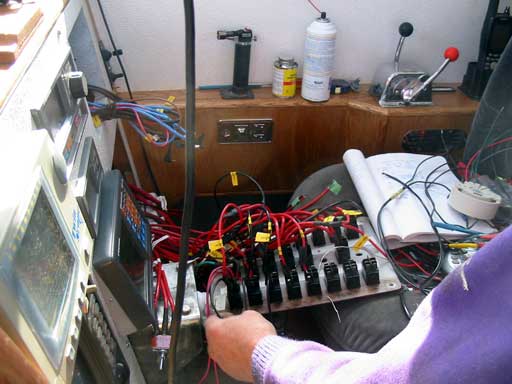
to have the PC hooked to it all by itself. Speaking of the PC, I had Gena add a power switch and wiring for it while she was in the dash panel. It requires the switch turn on the power first, then have a momentary to activate the computers' power button. All in a days work around here. One the switches could be configured to do just that.
Looks like we're running out of spare breakers in
the panel again, so smaller draw loads must spider out from ones already in
use. One thing to keep in mind when doing this, have smaller value fuses
coming off the branch point as those tiny wires will glow red and still not
throw a 20 amp breaker! |
 |
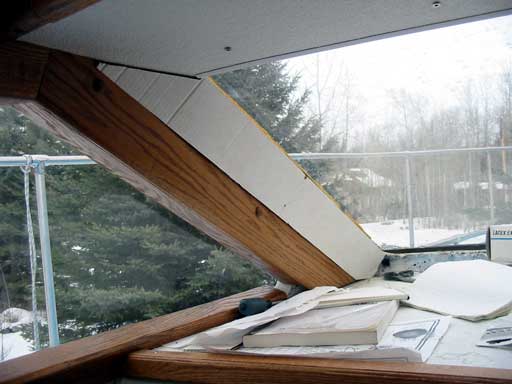
| Anyway, back to the day at hand.
The dash to window areas in the pilothouse have been ugly foam with blue
stuff on it for so long we'd gotten used to it. I couldn't put those in
until the headliner was back in place, and I couldn't do that until we'd
decided what wiring must go up there. It was abandoned for months. The other
day it dawned on me that I can indeed get everything in now. I had been safe guarding a box from the solar panels that was long enough to make a template from for months as well. It had a brush with it's demise after Christmas sometime when I found Gena had thrown it into the snow, ready to be used for fire starter. As predicted, it came in handy because of the difficult shape and curve of this piece. The photo (right) is of the template. If there is a gap, like the one at the top, I like to add on a 1/8" fudge factor. I have learned that these gaps mean that something didn't go well, so over adding length is probably a good idea. |
 |
 |
Panel in place at last! Makes a
big difference visually. The panels screwed to the routered in edge of the wood and came out looking great. I must remember to paint the screws white though. |
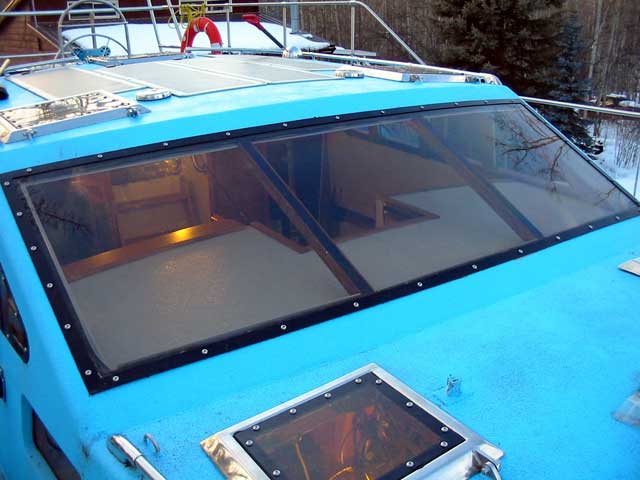 |
When I was re-cutting the headliner panel, I had to make sure things looked even from outside as well. Even though the windows are lightly tinted, one can plainly see inside when it's cloudy. |
Day 441:
10 hours: Mounted TV, finished connections, wired switch panel etc
 |
to Day 442 |