| Day47 | 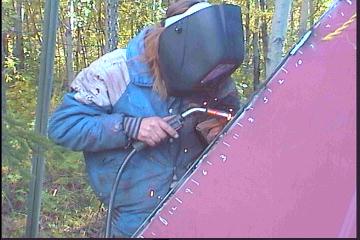 |
Welding up the bowstem |
| Day47 | |
Welding up the bowstem |
| Before putting
on the keel plate, we have decided to weld up some of the
hull. ( Also the plate isn't here yet! ) The first, and logical place, is at the bow stem back to the keel. As can be seen in the photo above, a sequence of welding is needed. Gena is the expert welder of us two, but I did have a go for practice. A lot of filling is required as the plate isn't butting hard up against the stembar. This way one is assured of a strong weld and good penetration. ( In our opinion ) |
|
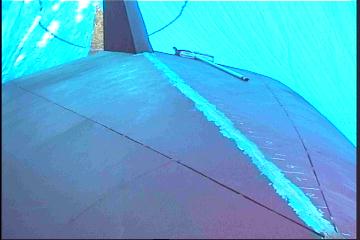 |
The joins
could be ground smoother,pic at left, because penetration
was good, and there is good exposure on the inside in
this area. The designer suggested leaving the welds untouched, but we just couldn't bear the site of it! Along the keel will have to be left though as it is a near 90 degree corner and likely is a high stress point of the hull. |
 |
As Gena was doing most of the welding and grinding etc. my job turned to the deck frames. If there is enough non-winter this year, the deck frames, at least some of them can be installed. The pic to the left shows the template for the deck I made of steel. This will be used to line up progressively smaller pieces of curved deck framing. As they become smaller, the template will have to be cut. |
| More of this
will be explained later on, as soon as we see if it'll
work or not haha! As of yet, the bow area needs to be built up more. The weather turned windy which makes for near impossible welding conditions. That's ok, we pretty much had it for the day anyway. |
|
Day 47:
9 hours:
Made template for deck frames, welded up bow to keel, first fill
of bow stem section
To DAY 46 |
Musical style always changing |
To DAY 48+ |