| Day 166 |
 |
Installing Side
Fuel tanks |
| Day 166 |
|
Installing Side
Fuel tanks |
| Now the foam and roofing paint are hardened the tanks can be put in place. We managed to wiggle them in. | ||
| The tops
weren't a problem to fit in and weld, so there was very
little distortion in the corners. Gena has began to fit
hoses etc. but the way it goes through the bulkhead, we
are starting to think, may not be a good idea. Origionally, we wanted to have easy access to the valves that switch the tanks during a fill. With the amount of fittings this requires, and connections, we are thinking it may not be worth all the extra. K.I.S.S. may apply here haha! We'll see... What is imagined sometimes is quite different when you can see it for real. |
 |
 |
To the left is
my doorframe in place. Straightening out that bulkhead
was a fair job, but wow does it ever look better now!
Also, no more torn or snagged clothes while entering the
aft. Next is the sail locker entry forward. |
| The door frame in place |
 |
This bulkhead
is only 1"+1/16" thick so the frame has been
made to accomodate this, and is lighter. Because of it's smaller thickness, some distortion occured during welding. It was straightened back out easily. |
| This method of making door frames seems to work very nicely, but, because they are steel, they will have to be coated well. The gasket that will be attached to the inset will be a protector and shouldn't be a problem ( hopefully ) | |
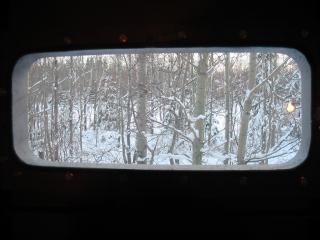 |
( photo left ) Here's a rare sight out of any portlite!! Today was pretty cold, -10 C, but the 220V heater kept the inside of the boat toasty. We likely won't be able to insulte the boat until spring as winter has come on full force, and the temps will only drop from here. |
Day 166:
6 hours - Put together door frame for sail locker, installed fuel
tanks
