| Day 227 |
 |
Wiring
& coatings |
| Day 227 |
|
Wiring
& coatings |
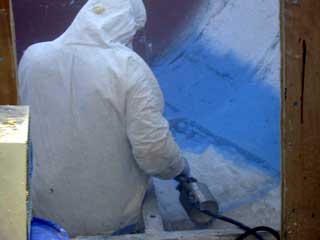
| Aside from feeling like a fly stuck on fly paper, today was fun and new for us! | ||
| The fly paper
was the -still not 100% dry- "Blue Stuff" we
applied on day 226, and we were the flies clad in Tyvek,
which sticks like glue to it for some reason. Never seen
any thing like that! I mean it really sticks! Anyway, as a slight misinterpretation of the night temperature on day 226 resulted in some lower sections ending up frozen, these small fissures had to be dug out and re-coated. Not a real issue as we had planned to recoat the forward area ( white stuff ) under the web hieght anyway. But first, the wiring must go in or we'll have painted ourselves into a corner so to speak! |
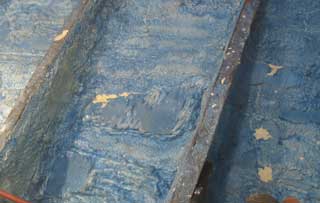 Frozen areas plucked out |
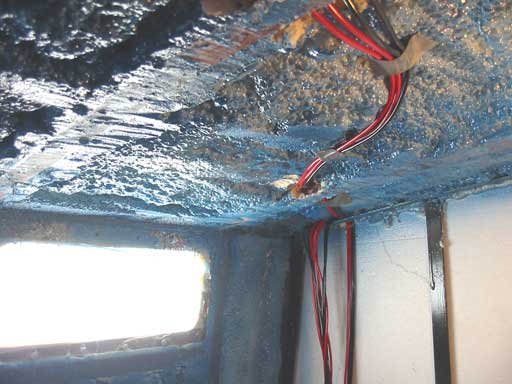
 Wire through deck/cabin join (wood+steel) |
Running wire
sounds mundain, but in a steel boat it may be a good idea
to plan this out in advance. We did not so we had to
figure out ways to get wire up into the ceiling for
lighting and fans after the fact. The wire is heavy gauge for the loads that will be on it, but we ( being electronic techs both ) know that bigger is better. Especially when it comes to long, permanent runs, and salt air. A good method might be looking at the tables for amperage vs. length to gauge and take that two gauges thicker. ( ie 10 to 8 ) Over the years we have seen some pretty shoddy wiring, and it's amazing what can happen as a result of overloading wire. It becomes amazingly resistive, heats up thus turning your battery reserves into heat ( not useful in the tropics hehe! ) also over heating electronics connected on the other end with lower volts = higher amps, and sometimes permanently damaging electronics or appliances. Also fire can happen as a result of overheating connectors in even low-amp situations. |
| Gena is pretty firm on using the heavy wire, and I agree with the thought that maybe more lights will be added on later. | |
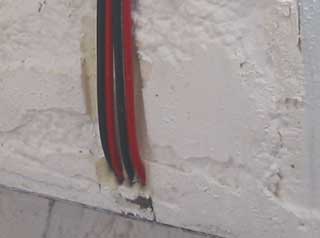
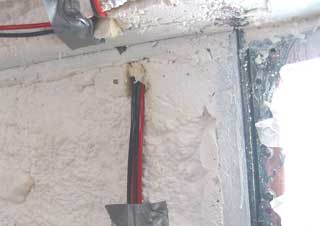 Wire around wood frame work at ceiling |
This wiring is
needed now because the interior panelling awaits. Nothing
worse than stringing wire after the panelling is all on.
We know this from doing many motorhome installations. Of
course that didn't stop us from applying foam insulation then
having to cut it back out for the wire ha ha! Everything else can be run up inside of cupboards, under seats and bunks, and under the floor. The fans mentioned above will be coming off of the mushroom vents we have installed. On each or every second vent, we haven't totally decided on that yet. We do have the fans though. Just like computer fans but larger and very powerful, yet only draw 0.7 amp. ( Electronic Goldmine ) |
 |
|
| The rest of the
day was spent putting on a second coat of the Blue stuff
forward and recoating and repairing the dining/galley
areas coating. This time the weather is much closer to
zero degrees and we plan on leaving the heater on all
night long. Soon we can do it all again in the aft half of the boat, and in half the time I'm sure! Now that we know what we're doing ;) |
|
Day 227:
5.0 hours - wired ceiling in galley/dining areas and forward
stateroom. Over coated foam coating in chainlocker, galley/
dining and forward stateroom areas below floor height.
To DAY 226 |
Radio
repairs in Canada, your last stop... Email or Call Sandy's CB (780) 986-7433 |
To DAY 228+ |