| Day 288 |
 |
Pilothouse Panel! |
| Day 288 |
|
Pilothouse Panel! |
| Paneling the pilothouse will mark and end ( well mostly ) to working with the itchy stuff! | ||||
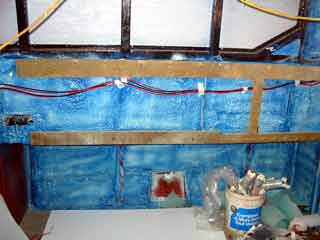
| The sides of
the pilot house need to be more rigid than usual, but not
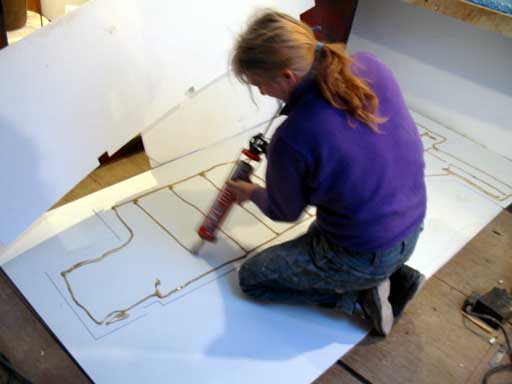
hard if one bumps into it. For these reasons, I decided to use wood on the tabs, and some vertical supports as shown in the photos to the right. Gena had noticed some stiffer panel when we were choosing ours at the store. It appeared to be the same panel glued on to some of that corrugated plastic sheet. We already have some of that from when we used it for window covers and possibly will use for "anti-poke" protection beneath the floor in larger areas. We just glued it to the panel using PL-400 ( top photo ) and slapped them together to dry for a while. |
|
|||
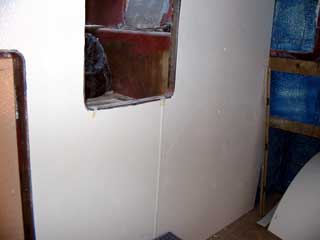
In the
meantime, other panel was cut and fit. Going around the
curves of the doorways and companion way frames didn't
require much accuracy as they will be covered by some
nice framing of some sort.
We will suggest this panel
to anyone building a boat interior. It's really tough,
curves easily, has a nice random appearing texture,
(although if you look down it the right way you can see a
pattern!) and most important is very water resistant. The
down side is it is floppy over flat areas and needs to be
supported, doesn't have the warmth of wood, and doesn't
come in many colors.(White, beige) |
||||
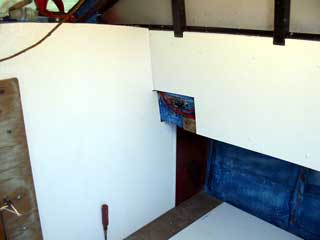
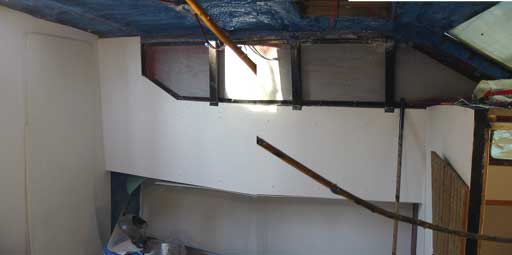
| This photo shows the panel
in place. The cut out is for the fills and pumpout. The
panel on the left was glued on to the steel bulkhead
coated with coal tar under the dash area. We decided not to bother with framing on this side of the bulkhead. It would have added weight and subtracted space unnecessarily not to mention complicated our plans for a waterproof sliding door there. The panel had to be clamped down with boards to ensure it didn't lift away after we left.(below) The bare ends will be paneled tomorrow using leftovers. |
|
|
|
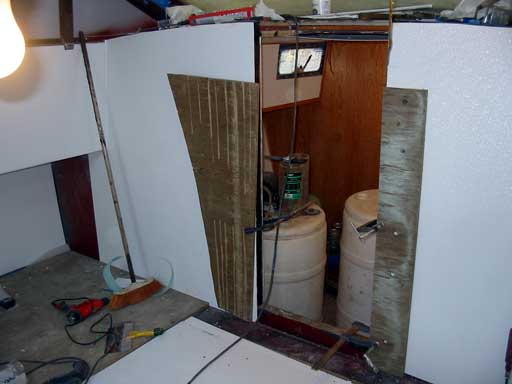
| Well there it
is! Only the odd piece, and the ceiling to go and it's
woodwork heaven! The part I have been longing for since
we erected the first web frame. Don't be concerned with
the crooked join in the photo below, it's just 2 photos
stuck together. It's straight! Under the decks will be doors of some sort. We still haven't decided what kind, sliding, swing, roll, flip-down, or flip up. Gena wants larger 36" doors. I disagree as nothing bigger than 22" will fit into the boat. |
|
Day 288:
8 hours:
Put on side panels, frames, and fore and aft bulkhead panel
To DAY 287 |
 Fresh Nelly's new CD Comic Books Coming to CDBaby Dec 9th 2005! |
To DAY 289 |