| Day 301 |
 |
Vanity, Doors, Dash |
| Day 301 |
|
Vanity, Doors, Dash |
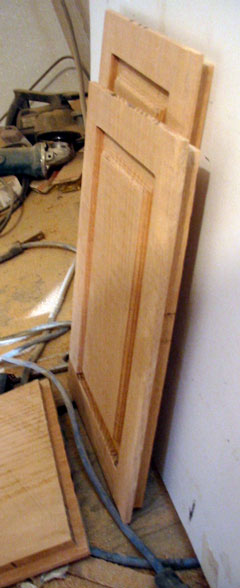
| It's a lot of work routing out doors! I had left an extra 1/8" on and ended up cutting of an extra 1/8" but that's ok. They only need to match each other. | |||||||||||
|
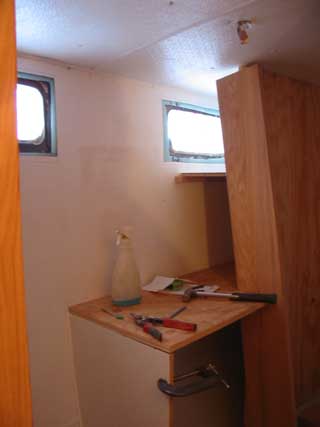
Gena was in the aft staterooms' ensuite bathroom working on the vanity side and shelf. The photo above shows an opening where a board will sit for mounting the electric toilet. It's a pretty cool machine for a, well, toilet! It has a fill button and fill/flush switch. A built in macerator pump ensures no clogging, and even came with a pressure pump ( that we don't need to use with our pressurized system ) that is a perfect match for the pressure pump on the pressure tank. Good for backup. The panel we have used all over the boat seems to be a good choice for along side the toilet so Gena glued some on. |
||||||||||
| Arranging space in this somewhat tight area of the boat is a challenge. Towel bars, for example, will need to be discarded in lieu of towel hoops. The door leaves no room there. A drawer in the vanity isn't possible because of the size of the sink, unless it were mounted low. | |||||||||||
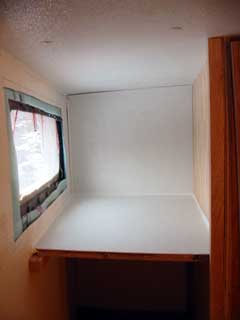 |
The shelf in front of the port light
(left) will be handy for placing small items, and the cupboard below
will be good for long items. (toilet paper, towels etc)
For tooth brushes, brushes, and combs etc, we plan to get one of those plastic door mounted holders to go inside of the little door that will be below the shelf. All these little things must be well thought out on a sail boat. Healing can make things roll off of even lipped counter tops, so everything must have a stowing place. |
||||||||||
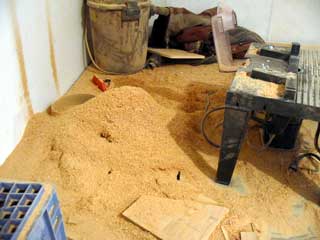
Sawdust galore! What can we use it for?
 |
I always wanted a wooden
dash top, so here is the compromise. The photo left shows the notches I cut underneath. This is to relieve some of the pressure on the 1" thick oak. The forward edge has been inset 3/8" for looks and stability. The idea is to put an aluminum frame underneath coming out at 30º then 10 gauge aluminum plate to house gauges and electronics etc. |
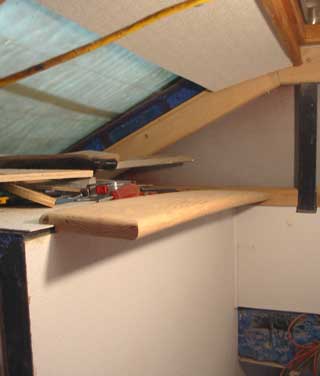 |
After rounding everything off it
looks pretty nice! I may radius the edge sticking out for impact relief but
not sure yet. The screws holding it down are going into 1/2" steel (layers
of plate, angle, more plate) and with some glue it'll never move.
It's far from finished though. A noth must be cut out with a curve to accept the aluminum plate butting up underneath. I need to use the tan() function to figure that out as both the aluminum and the slot have unique curves. I'll show how on day 302. |
Day 301:
6 hours:
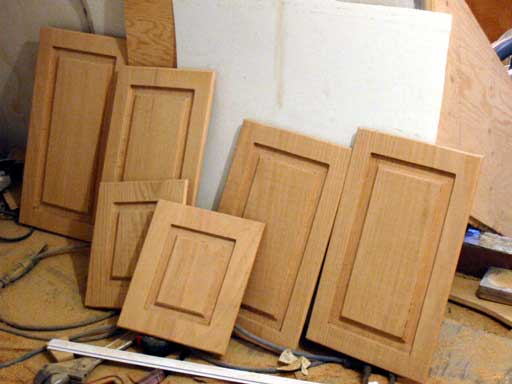
Finished doors, vanity side, shelf, trimmed vanity top.
To DAY 300 |
 Fevertech's new album "When Junk has a Heart" is shaking the house! Check it out! Reviews |
To DAY 302 |
|