| Day 325 |
 |
Filling seams with grout |
| Day 325 |
|
Filling seams with grout |
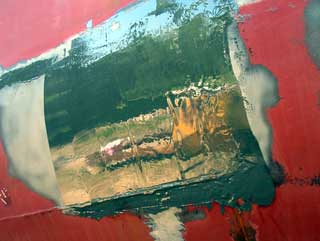
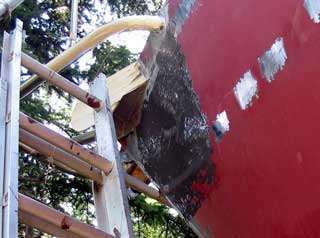
| After 2 weeks of preparation we finally got the sandblaster working, ( more on that later ) just in time to do some filling. Small defects such as under cuts and grinder distortion at the joins can be taken out with filler. | ||
| Some things had to be done
first like covering vulnerable polished stainless in areas that needed
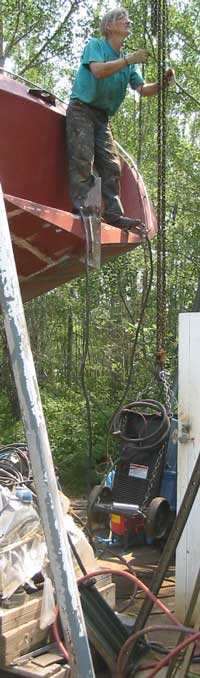
to be sandblasted for the fill. We decided to take down the welder as it
is no longer needed top-sides. It has been up there since the boat was
turned over and made a happy landing back on the concrete pad from
whenst it came. ( Long photo right ) The "grout" we decided should be the same as the type of coat we plan to use top-sides and on the hull, CeRam-kote 54® which is one tough coating system.
|
 |
||||||||
 |
|
| I'm confident that the fill won't need fill but there is a lot to grind off (remember I said it is very tough stuff!) and the waste here and what hardened in the buckets was heart breaking. (photo right) When the second half was mixed, I came up with the idea to put the buckets ( actually they're dubble bubble gum containers Gena has been chewing hard to collect! ) Inside another bucket with ice and water in it, thus cooling the grout some. This extended the time to about 20 minutes. Yay! |
 |
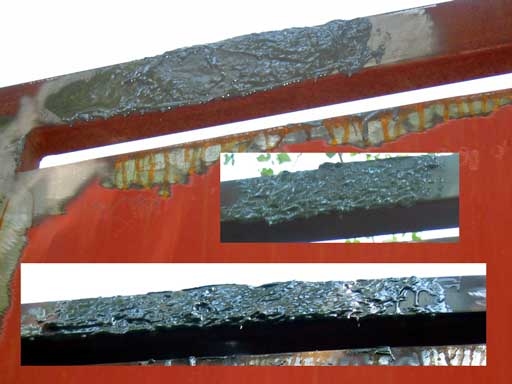
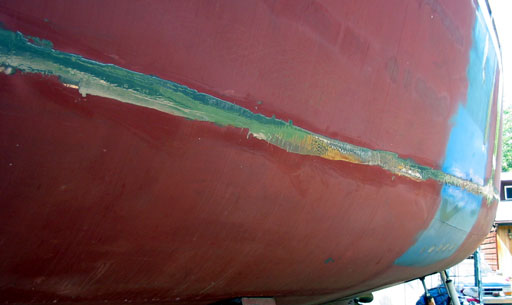
| We managed to fill the main seam above the water line on both sides and the areas between the aft port lights that had been over ground at that seam. The bottom photo shows the port side seam. It widens out a little because the radius plate joins there had a slight indent. The grout worked well on the seams. | |
Day 325:
7 hours in hot sun - Sand blasted seams for fill and bow area etc. Applied
filler
To DAY 324 |
Tough
Radio Repair job?
Call Sandy's CB (780) 986-7433 |
To DAY 326+ |
|
|