| Day 340 |
 |
Track /hatches |
| Day 340 |
|
Track /hatches |
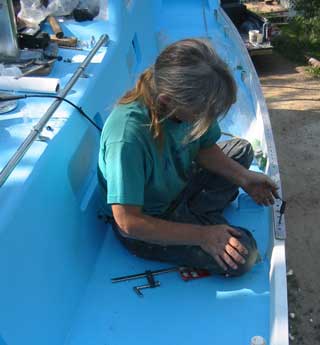
| No one day would be enough to
complete the mounting of a home-built genoa track. Especially when tools
purchased for the job are unreliable! Because the bulwark rail is an enclosed area, mounting track to it has been somewhat of an issue. We could have welded nuts on to accept screws through the track, but alignment would be a problem. I came up with the idea to drill and thread a bunch of 1"x1"x1/4" SS squares and weld them on. This seemed like a lot of work and could cause distortion in a place where one definitely doesn't want "ugly"! After searching around for a few weeks, it
seemed Gena had found the solution. Stainless rivot style nuts. They are
quite expensive, about a dollar a piece. The above photo shows how it is all
supposed to work. After drilling all of the holes out to 3/8",
Gena started popping them in and riveting them down. After 3 rivets, the
tip of the gun snapped in half! That's the part that screws into the
rivet. No replacements came with the $60 gun. That was pretty much it! Over the side with the gun, the rivets, and anything else that was in arms reach! |
||||||||||||
 Foam's coming out everywhere! |
$200 worth of rivets that are
useless. To add insult to injury, the rivets weren't even tight enough
to stop rotating. There were no instructions with the gun, no hole size
info -even though they were tight going in. Did anyone actually test
this thing??? What a waste of money. I don't recommend this system to anyone. It doesn't work! The gun doesn't work either and is extremely poor quality. We know these tracks take a lot of abuse and the amount of screws in them is necessary. Each one has 40+ mounting holes over 12'. This is good because we ended up re-drilling another 40 holes and tapping for 1/4" bolts -what should have been done in the first place. The other "big" holes need to be filled so I decided to put foam in the rail, to create a support for silicone which will be under the track. This slowed things down as we had to wait for the foam to stop oozing out of all of the holes ha ha! |
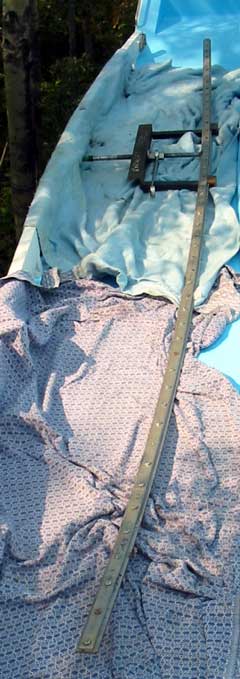
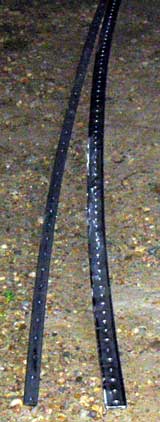 The bent track |
||||||||||
Some of those cheap nylon
inserts (like drywall inserts) probably would have worked better, but
then who knows what the strength would be like? If we had to do this
again, I think we would just tap again. The holes are definitely strong
and "unstrippable"
|
||||||||||||
| Blog: We are fairly independent on our judgment of a product, and pride in making the right decisions when purchasing things for the boat. Based on our experience these days, in the past few years, what you see is not always what you get. For a boat, as with anything, getting other peoples experiences with the item is a must. We sometimes ignore this and really shouldn't. Forums are a real, honest mark of opinion on a product. Reviews on the site of the product are really just advertising and shouldn't be trusted....at all! Also, similar products are just that, similar. I have seen aluminum mounted "nut rivets" in use for years in trucks and thought the SS ones must be even better. We have also realized that renting specialized tools is a really good idea. They must be high quality or they wouldn't be rentable. Not to mention the good advice that comes with it. |
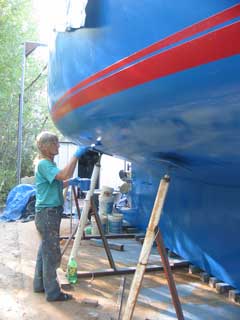
Day 340:
14 hours-mounted tracks, prepared SB tracks, buffed welds below WL and painted
over, drilled hatches.
Day 339 |
 CD Baby, music for the masses! |
To Day 341 |
|
|