| Day
356 |
 |
Galley /seats
|
| Day
356 |
|
Galley /seats
|
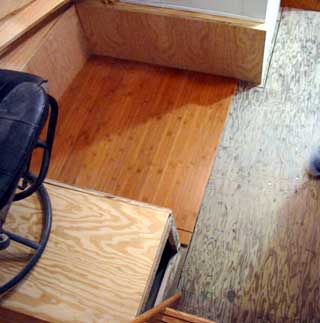
| Today the galley got underway.
Gena was head carpenter in the kitchen when we were building the house,
so it only seemed appropriate she be the designer of our kitchen. I use
the word designer in a " how to do what
Sandy wants" context! The photo above shows how quickly the new 3/4" countertops became a tool storage area lol! The pointy scraps are just holding them up, not a finished product. |
|
| So far so good. It is important there be
enough space to move around, turn, bend over to reach cupboards
underneath, and not too much space so one can brace themselves against
opposite counters. i.e. while cooking over the hot stove or cutting with
a meat cleaver he he. There are a lot of things that make up a galley these days compared to years gone by. A bucket for washing dishes, a wood countertop, and a box of coal used to suffice, but now we must have a the amenities of home. An oven and stove that must gimbal to the heal of the boat, a fridge/freezer is a requirement, 2 sinks for washing, and a microwave, are just the basics. The TV and stereo must somehow be built in somewhere if to be used from the dining area. ( Yes we like to watch TV while we eat just like anyone, although nobody will ever admit it! ) |
 |
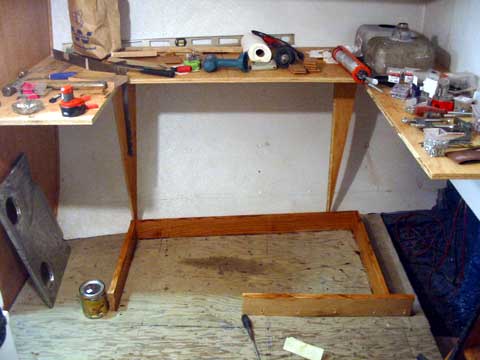
| The layout of the hatches leading in to the galley has become clear so Gena will be able to continue with that next. | |
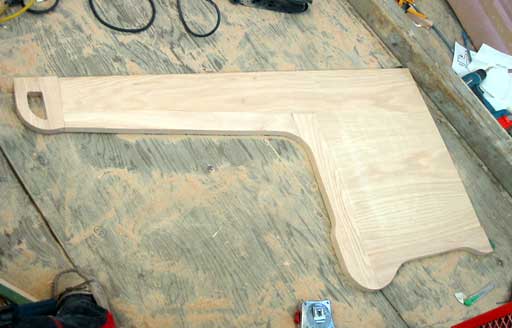 |
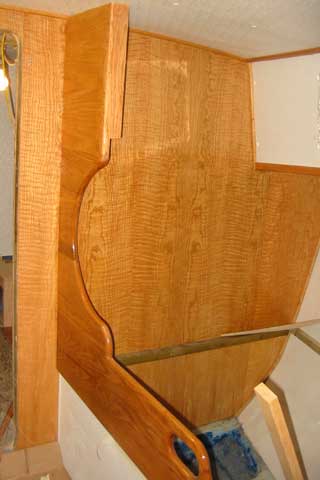
I just goofed around with those
seat ends. The photo to the left shows the hard edges after all of the
little chunks of oak have been tapped on and the shape cut out with a
jigsaw. Each piece was routed in about 1/4" to over lap the 1/2" each side.
No nails were used, just dowels to connect sections.
I made a mistake on the forward edge where the round part is. The dowel was cut off when I made the curve ha ha! It was ok though as the extreme back-curve allowed a screw to be countersunk and plugged from underneath completely out of view. ( Unless you only stand 7" tall! ) |
||
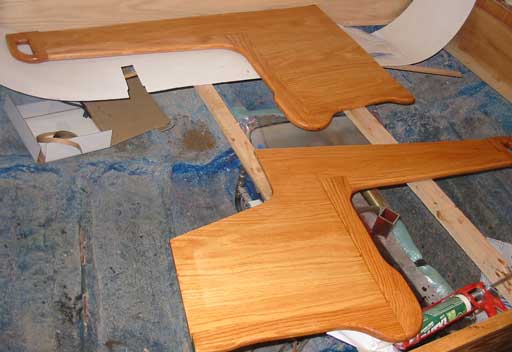 |
The handles on the top are just
something to grab when getting up out of the seat, or when going up into the
pilothouse. They add some accent to the thing as well. Notice the one cut out at a strange angle at the bottom. This is where the steps from the pilot house line up. It will allow more access underneath when the steps are flipped up. I plan on putting an "L" gasket on the edge to completely seal off the area so the circulating fan can pressure air to where it is meant to exhaust. Vents under seats, cupboards, etc, are important in a boat, ones with fans work even faster. |
||
|
|||
Day 356:
7 hours - Finished seat sides, mounted countertop layouts in galley.
To DAY 355 |
 Bruce Roberts Yacht Design |
To DAY 357 |