| Day 362 |
 |
Galley Sink Berth
"web" |
| Day 362 |
|
Galley Sink Berth
"web" |
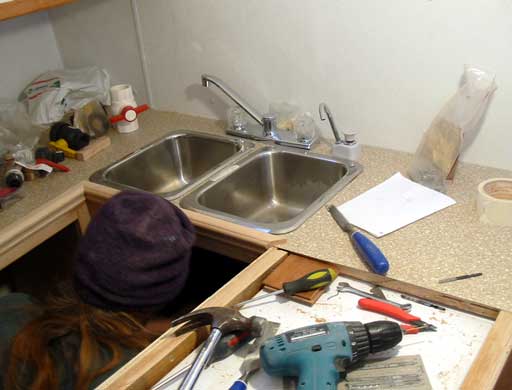
| Today Gena mounted the sinks in the galley, along with the taps and manual pump. As in the head, there is a manual pump just in case the pressure pump fails, also to save power for what may be just a little water. The sinks we acquired while in Vancouver at a "used" chandlery. They are in pretty good shape, a couple of scratches on one I may polish out. | |||||
|
|||||
|
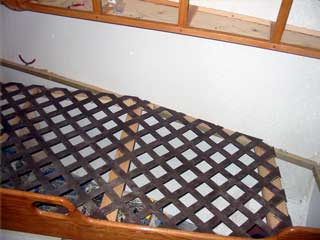
I excitedly worked on the forward berth
base. It's been a project I have been dieing to do since the bulkhead
went in! Instead of plywood, we are going to try plastic lattice
material as it is impervious to water and already has vent holes in it.
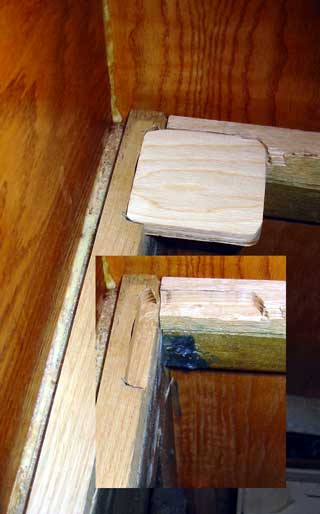
The frame is to be kept light but must have some strength and rigidity. I could have just doweled each corner ( except the wide corner ) but the twisting from lifting the frame with the weight of the mattress and whatever else on top would certainly break the join. That is why 1/2" plywood was sunk into the frame then glued and screwed firmly in place. (Photo left)
|
||||
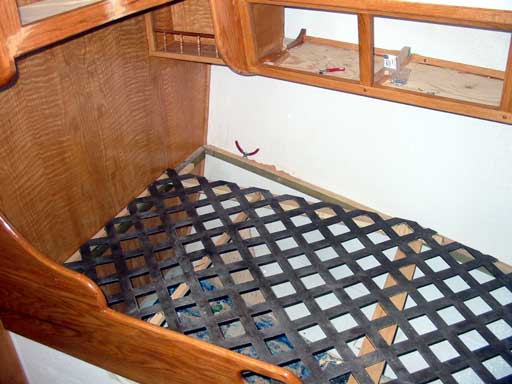
| A 5" foam mattress will fit
perfectly in here height-wise, and a twin size with the corner cut off
is what I made the frame for. 38" x 74.5" in an enclosed area is just big enough for 2 "not too chubby" people to sleep on comfortably. The corner next to the widest part is only going to be a cubby hole, so for extra width a pillow could be thrown into it. |
|||||
Day 362: - 6
hours
Put in galley sinks/taps/shelve faces and forward berth frame
So Many Paintings, So Little
Time! Check out some of my paintings, all need to be sold or given away in the next 3-5 months (by June2007) contact me here and leave your name and choice. |