| Day 416 |
 |
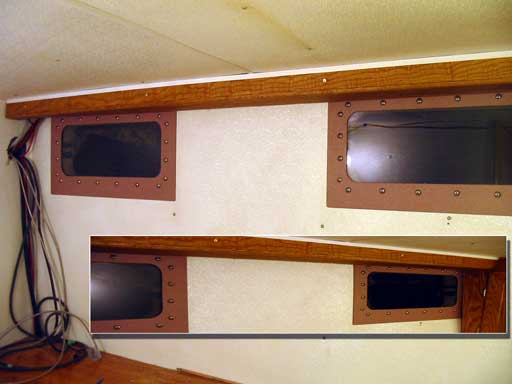
Prop+shaft main bilge, wire tray |
| Day 416 |
|
Prop+shaft main bilge, wire tray |
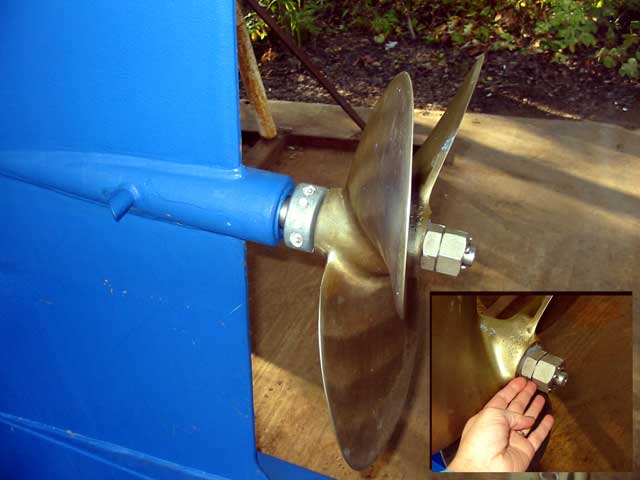
| Next on Gena's menu was to
final fit the prop-shaft bushings and attach the seal inside. Notice in
the photo above that the small nut goes on before the larger nut. This
is recommended be engineers for some reason. We're not sure why, but
we'll do it. The last nut is protected from falling off by a little
cotter pin. Not sure if I like that much, but that's the way it's done. With the price we paid for this prop, one should have a large padlock on it! I recently read of a catamaran having one prop stolen ( they have 2 ) in Thai waters. They didn't notice until they were well underway as the starboard side wasn't pushing. In the case of a monohull, it would be a disaster. Anyway, personally this is one of only 2 things that make me nervous about the design of our boat. The other is the rudder, which I'll mention a few days from now. It's just paranoia about bolts and nuts under water I guess. I'll be the one diving under the boat regularly to check things out. I know it! |
||
| Once the cutlass
bearing aft was tapped back into place, the giant setscrews were
tightened to hold it in place.
She then moved inside to rig up the PSS seal. This is the only thing that stops water from pouring into the boat up the prop tube. It replaces the standard stuffing box, and freaks me out a little! It's basically a bellows that attaches to the prop tube via clamps, which compresses against a stainless steel machined hub with a carbon ring attached to the rubber. |
 Screen to stop objects falling into bilge |
When water comes
spewing up the shaft, the thickness of the water bead (very thin )
prevents water from passing across the barrier, about 3/4" wide.
It's the same effect as putting a glass of water on a piece of glass, then turning it upside down, sort of. The water won't run out. The waters own pressure on the bellows increases the compression perhaps. The key seems to be the precision carbon to stainless fit. It is finely machined so we'll see. |
| After everything was mounted,
and the bilge pump line run through, she bent some galvanized
screen to fit over the bilge. This is to stop the perpetual rain of
tools from falling into the bilge ( it's hard to reach to get them out!
) and to stop objects such as foam chunks, bits of wood, or
bolts/nuts/screws, from going in that could jam up the pump. We
have read this can sink ships... The bilge pump has been mounted on a wide 1/4" slab of lead, like the forward one. It was coated to prevent lead poisoning all the fish behind out boat. This will keep the pump and level sensor upright. The engine is almost ready to start. Just the custom radiator cap mount remains. Excitement builds as this engine has sat for 5 years, and we only saw it running for a minute or so. |
||
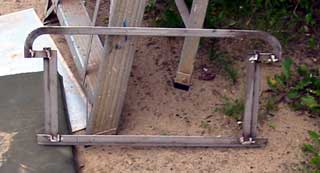
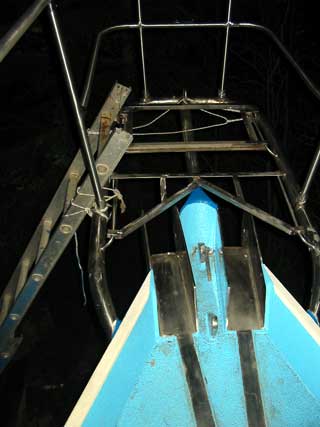
| I had other things on the
menu today, but decided I should make the other floor frame for the
pullpit. This one will be permanently attached.
It could have been just plane square, but I have left overs from a door frame I made but didn't use, so I used them. Plus it looks elegant, although nobody will see it except the dolphines swimming in our bow wake ( Can't wait for that!) The decision here will be whether to use "real" wood, or that fake plastic wood. I am leaning towards real wood but Gena has firmly established that it will be my responsibility to keep it looking good. I think I can handle that! |
 |
 |
| Speaking of wood, I was
commissioned to make the wire tray over Gena's desk. As can be seen in the
photo below, the wires were hanging everywhere. The front panel had to be made removable, thus the brass screws. I just noticed how dirty the ceiling is with sawdust! I'll be cleaning that off. |
 |
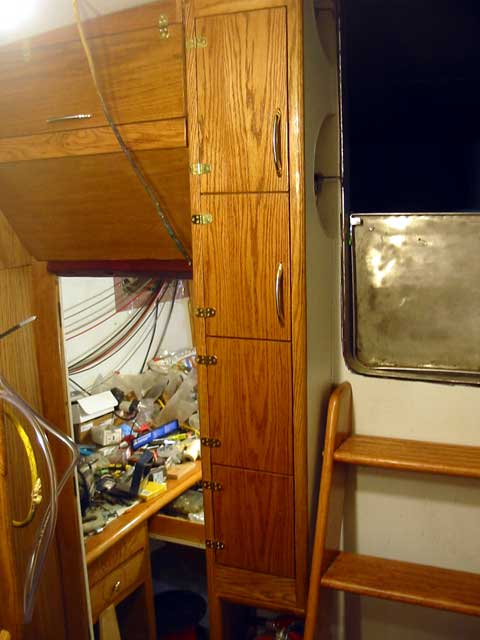
| The vertical lockers' doors are
all from one piece of ply, so they grain matches, and were well coated
before. Putting on the doors and handles took me well into last night. It's
amazing how long all that takes. I didn't use locks as these are so small, and are on the fore-aft face, nothing heavy will be in them. The snaps are the adjustable ball bearing style. They are pretty tight! If, in the future, they require latches, I think I'll just put hooks on. It *would* ruin the look though. Gave everything a good 3rd coat. |
 |
Day 416:
8 hours+3 hours night previous: Made wire tray, put on shaft seal and
prop/ anode etc, screen for bilge, ran bilge hose and mounted pump
|
webmaster S.D.Sims |