| Day 429 |
 |
Doors under
cockpit/ steering chain |
| Today was a pretty exciting
day for me! The under-cockpit doors! Well ok, maybe that doesn't sound
exciting to you, but I have been wanting to do these for over a year
now. Originally they were going to be made of straight plywood with some
heavy gauge mylar sheeting on it to make mirrors.
|
|
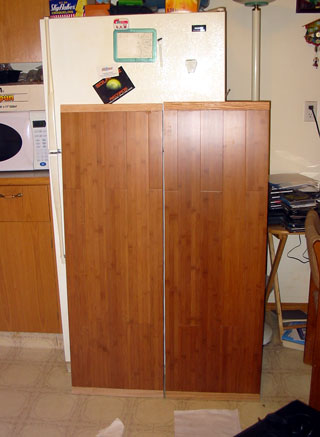
 Bamboo doors together! |
After a while I realized this may be a
dumb idea because the doors are so low that they wouldn't add any
"roominess" to the aft, nor could they be used as a full mirror for
dressing up etc. (Unless we were "little people" better stay politically
correct there!) being only 4 feet high. Then I was happy to just frame some GOS oak ply, although I had always expected more. It was yesterday that I started thinking about all the extra bamboo flooring we had left over from the forward half of the boat when I decided "hey why not use it to make those doors, instead of firewood!" We drove into town and found a perfect piece of 1/4" x 8' x 2' rough ply for backing, asked the (now-I-know-to-be inexperienced) girl to cut it in half to make 2 48" pieces. When we returned, I immediately set to making the doors. I carefully cut the bamboo to match each length of ply, overlapping for strength, and capped the top and bottom with routed-in oak board as the doors need to be 51" high. After I took the photo (left) I noticed a horrible problem. Somehow, one door was a full 1/2" taller than the other! It then dawned on me that the girl who cut the wood either mis-measured, didn't care, or had never used a radial arm saw before. I wasn't present so guess we'll never know.
|
 |
|
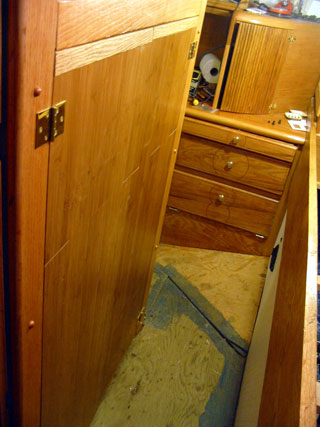
| I was pretty upset because the glue had dried and I have so looked forward to this. So I cut off 1/4" on each end. Nobody will notice, but I will. If this wasn't enough, once I attached the hinges, I realized that I had forgotten that the floor angles up slightly going aft. Just enough that the doors hit before fully open. That's without the carpet. Now I upset!! I had to cut off a further 1/2". Duh! | |
 |
 |
| Well they're in now, and don't look too bad. By next week I'll have forgotten all about it, that is, until I read this page again! | |
| Gena needed my help under the
cockpit, while I was goofing around with over-sized doors, to hook the chain
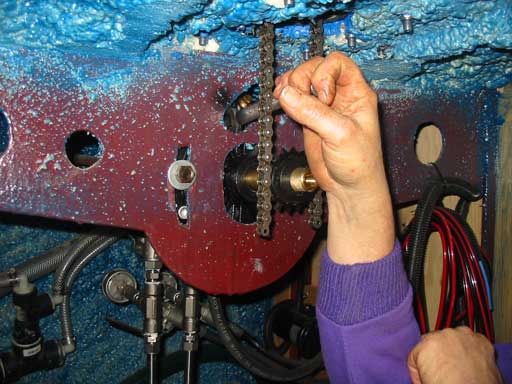
up to the pedestal (binnacle) steering. When she mentioned what she was doing, I thought it was going to be a "double-wammy" day as I built the pedestal and aligned it by eye, but surprisingly, everything lined up! Yay! There is a god! Notice the bolt in the sliding adjuster slot. There isn't much movement without prying down hard with a crow-bar because of the SS hydraulic lines. -Hoses allow for expansion in the system so best to minimize them. |
 Putting in steering chain to check alignment...it fits! |
 Strange view: Up the pedistal steering shaft |
|
| The photo above (a hard one to
get!) going straight up to the outside steering station, shows the sprocket
and shaft connection above. The hole in the side is the entry point for the
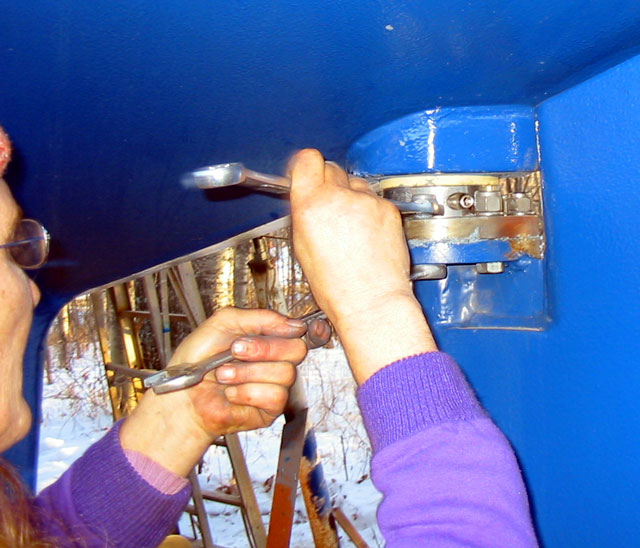
throttle and shifter cables. The wiring comes down the handrail. (not shown) Finally for today, while we were in town we stopped by Sean Finn's Machine Shop in Nisku, Ab. and picked up the custom split rudder collar he made us. Gena gingerly slid it in, and it fit perfectly! This is to hold the rudder from jumping up and slamming the hard flange against the soft Torlon® bearing material. Sweet! |
 |
Day 429:
11 hours: Made the cockpit doors, rigged the chain to cockpit steering, tested
steering system, mounted rudder collar.
| TO Replace
this button with a link to your site, mailme back..to Main page Sail1.htm |