| Day | 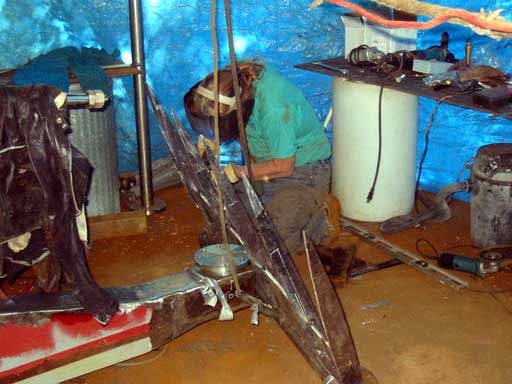 |
Rudder heel cup |
| The rudder needs to be strong so Gena welded the frames up nicely. Very little distortion occurred, but my inadequacy with the frame slots came back to haunt us. Somehow they were all off a touch. | ||
| Eventually,
after some grinding and filling they were brought back
out ( or trimmed in ) to alignment on the starboard side
of the rudder. Before the rudder was taken down, I had to take note of the spacing along the underside of the stem when the rudder is centered. 1/4" isn't much! The top frame of the rudder must curve up some because the stem bar curves up some, well, it *is* a boat right? Pictured to the right is the 1/4" frame that has left the center to 1/2". When I cut out the plate, and extra 1/4" was added aft so this could be fixed. |
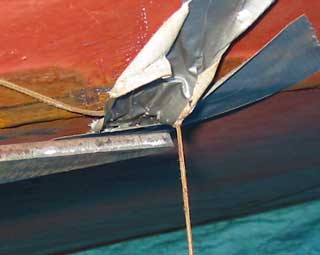 Plumbed center for frame alignment |
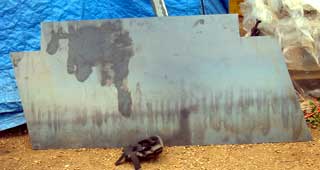 |
The plate on both sides should be pretty close so I made a duplicate. It was left somewhat over size, always a good idea when in doubt. The top ( right side ) notch is less then the bottom because the box that holds the cup is much larger and a bit if space is required for it to run around the corners. The rudder, under normal circumstances, will never go much past 35 degrees. If the rudder arm ( quadrant ) or pin ever failed or the hydraulic snapped, the rudder would be free to swing violently and if there wasn't enough clearance on the heel, the whole thing could break off! Never underestimate mother nature. |
| Once we got the plate on,
some trimming was required. No escaping the fact as the
boatcam was watching! The edge along the shaft was tricky because we couldn't see underneath to see if the frames were actually touching the plate. ( We should have used the webcam for that! ) An educated guess brought it in just fine. |
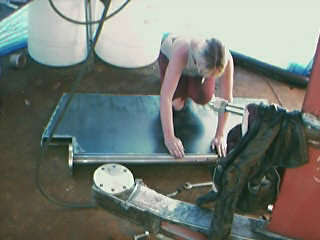 Me lining up the plate (cam photo) |
| Once the plate
was tacked on along the shaft, we clamped the aft edge to
stop any movement during welding to the frames. This worked excellent as there was no distortion at all. I came up with an idea to stop the plate from drawing in, ie. the starved cow look. Being only 12 gauge ( 20% thinner that 1/8") this could happen easily. I suggested we only weld on one side of the frames as this was only to hold the skin in place. It worked! No warpage at all, even with large tacks of 1". |
 |
 |
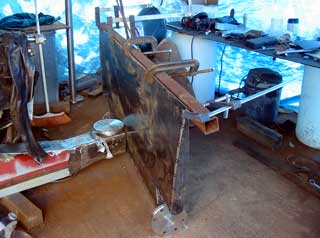
To the left is
how far we got today. I don't know why, but for some
reason this reminds me of batman, or the bat mobile. Maybe
this is where the writers/artists got their idea from. It
truly looks sinister! We are thinking on cutting a hole in the exposed plate at the top (right center in photo) under the flange to allow a pole or chain to be inserted. This thing is already unmanageably heavy as it is, and there's still one more piece of plate to go!! In between time, Gena managed to weld on some anode bolts. This has been a topic of debate for some time. The size of the anodes is tabled here and there on the net and in books, but most of these scenarios involve more exposed metal than we have, ie. bronze sea cocks, etc. Our boat in the table requires 120 lb of zinc. That's a lot! Where does one put it all. We have some bricks that are 1" x 12" x 8" or so. Big stuff. But it only weighs around 20 lbs. What to do... Gena spaced the bolts 13 1/8" to allow for a 1 foot long whatever size to fit in. ( Photo below ) There will be more on this soon. |
Blog: If
you're readng this and it's July 4th, watch us
live!
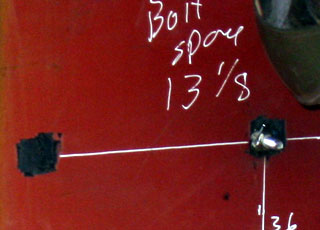
The giant weed catcher...er i mean
anode mount
Day 255:
7.5 hours - Almost completed rudder. Welded on some anode bolts.
To DAY 254 |
Fresh
Nelly is out there!
|
To DAY 256+ |
Wave mouse over for todays boatcam