| Day 291 |
 |
Hatch frames &
berth |
| Sometimes the best approach is
the simplest. After trying with all different ideas on how to assemble
and install the wood framing to join the stainless hatch frames to the
interior paneling, I decided to go with readily available oak finishing
wood. The problem was that some of
the frames have "T" frames to attach to, and others do not. certain
parts of the panel are just hanging. How to connect the panel to the
wood was an issue. Georgena suggested to just use silicone to glue it
on. |
||||
| The diagram to the right
shows how they are being assembled. Instead of using screws through the
S.S. frame into the wood, PL400 adhesive will be applied to the wood and
the frame clamped into place to allow drying. I never really liked glue on boats. By itself it may move over time, or loose adhesion altogether resulting in the thing flying apart at some inopportune time. I always remember that episode of Gilligans Island where the professor derives a "superglue" from palm trees (or whatever) and they glue the S.S. Minnow back together. Just before they depart the island at last, the whole thing just disintegrates before their eyes! I don't want that to happen haha! Anyway, after the glue has set, it seems very solid. I do have the recompense that if they do start to come apart, screws can be added to hold them back up. Screws are always a problem around hatches though, allowing a place for water to trickle into the wood. The 2 pieces of wood are held together with finishing nails and wood glue. The finishing nails are of course tapped in and filled over. The one port side frame gave me some trouble because the space between the S.S. frame and the cabin top frame was so small. Only 3/16" near the top. Also a section of sloppy weld that was never cleaned off was in there. I wanted a tight fit so the wood was carefully sanded down until it fit good and tight. (photo below) |
|
|||
 Thinned and cut out for very small space between frames
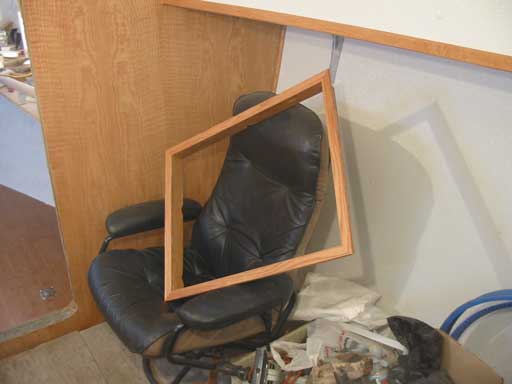
They seem pretty solid. I should have
done the frames for my paintings like these! |
||||
| The job Georgena had was to continue with
the aft berth frame. The face must overlap the face in the boat, so that
board is larger. The corners are daydoo'd and sunk into face and aft
boards for strength. The two in the center are for additional support
for the plastic lattice. It's not as heavy as we thought, which is good because it must be flipped up to access underneath. |
|
| It was disassembled to get into the boat
(of course ) and looks great in place! The height is a bit of an issue as a rail cap will be on top of this, making it way too high to hop up on ( without a pole hehe! ) so either a fold out or permanent step will be added on the left side. |
 |
Day 291:
12 hours total:
Made 3 hatch frames, ready to install once urethane dries. Finished berth frame.
|
|