| Day 317 |
 |
Sliders /septic sys |
| Day 317 |
|
Sliders /septic sys |
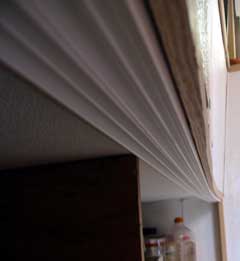
| The 2nd door into the head was a bit more of the challenge as the cockpit cupboard edge is slightly off square ( a result of the welding of the poopdeck before frames were attached mistake! ) with the top and bottom edges. |
|
  Track inset into oak frame routed to make flush |
||
 |
The real problem is how to make the doors
not fall out in the even of a knock down? Most sliding doors are place
on to the track by lifting them into the top track ( some what deeper
for this ) then moved into position on lowered into the bottom track. I have solved this by making the bottom track removable. The plastic track has been recessed into a wide piece of oak. As only the outer tracks will be used, the attaching screws can be in the inner tracks. I even got fancy and routed out a 1/8" inset 1/3 of the way in to allow for carpet insertion. The outer edges were routed round to make them "knee friendly". Because the deck to pilothouse join has a curve, the real challenge was getting the oak to follow the curve. I thought about bending the oak, but 1" x 3" oak doesn't like to bend much on the hard edge! |
||
 |
As the curve was only 3/4" I decided to
actually cut the curve into it. This worked well. ( photo left )
|
||
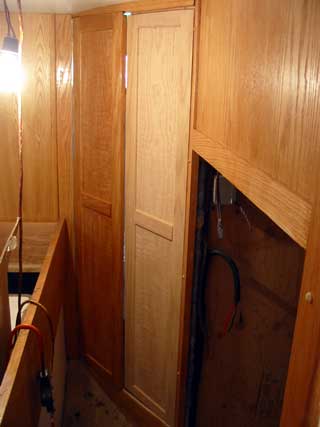
| After putting on a couple of end frames, the whole thing has started to look finished. Only the face board remains to be added. The logical way to put 3 sliding doors in here is to have the center door forward. This way, the latch handle on the center door won't interfere with the end doors sliding. The end doors' handles will be on the outside ends of course. | |||

|
While at work I became artistic during a
slow moment. We have acquired a load of plastic vents for cheap, but
they are all white. This is ok for putting on panel but no good for
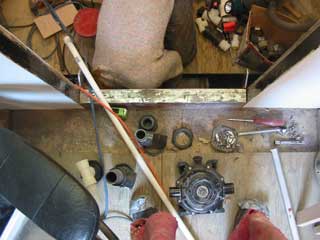
wood. The solution was to paint them with acrylic to look like wood! I think they do in the photo, don't you? They all look slightly different in both tone and color, which makes them even more authentic looking ha ha! These will be mounted on cupboards and some doors etc. The white ones will be put anywhere there is white panel. Ventilation s important on a boat and these should allow enough for all areas. Under the aft berth we plan to put a small fan on one to allow air to flow from all of the back stowage areas, under the berth and out. Now that I have greedily taken most of the page, I must mention what Gena was doing today. She has prepared the septic tank for all of the many fittings that are needed, as well as ran the drain pipes from the head, tub, and sink aft. Of course the holes were too small and had to be drilled out with a big hole saw which was a big job. |
||
| The top of the tank ( not in
view ) will have very little open real estate once all of these fittings
are on. They are as follows:
-a pump out tube to bottom of tank for
manual pump The "pipe" isn't really pipe per sae, it's
actually reinforced hose. Pipe would have been impossible to deal with
in such tight quarters. |
|||
Day 317:
10 hours: Made track for doors in pilot house, tested septic system fittings,
ran drain pipe, finished 2nd door and mounted.
To DAY 316 |
 Repairs at less than $50 cdn/hr! Custom circuit design $20/hr Custom Microprocessor designs |
To DAY 318+ |
|
|