| Day 318 |
 |
Septic Tank |
| Day 318 |
|
Septic Tank |
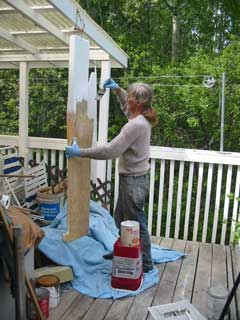
| Once upon a time, sailors, when confronted by natures "one" or "two", would use their ensuite bucket and immediately toss it over the side. Simple yet effective. After a couple hundred years we have become somewhat more refined in our ways and this requires a slightly more complex solution. | ||
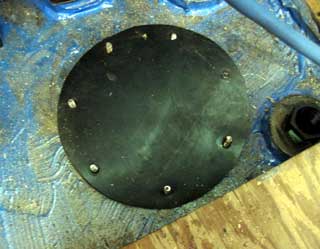 Gasket on the septic tank  The pumpout hoses |
The septic tanks fittings are
shown in place, as described on day 317. Still missing is the level
indicator (underway!) Gena cut the rubber gasket for the access hatch to a perfect fit. She must have done this before! The access hatch is good for holding fittings through while tightening them from above, as well as cleaning out the tank from time to time That is if we can find someone who'll do it lol.
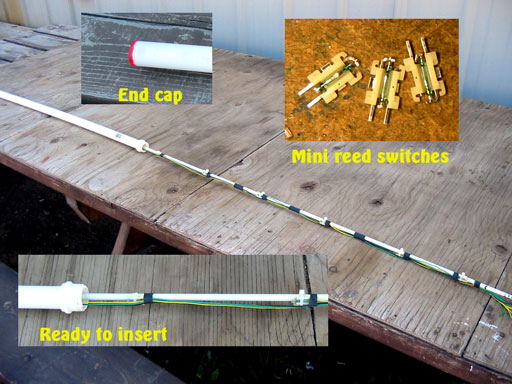
The pump-out hoses have been inserted ( photo left ) and cut to the right length. They are the rigid type so they won't collapse when under suction from powerful marina pump-outs. ( We have heard rumors! ) The real trick is how to measure level in this tank? The sensors we used on the plastic tanks don't work on metal, mechanical/resistor sensors will jam and rust, visual tube types are fouled by black water. A float switch would be good to show when the level is up to 75% say, but this doesn't reveal much when it is below that level. If we were sailing into a pristine area where pumping out is prohibited and it took 4 days to get there, finding out our tank is 75% would limit our time to stay. |
|
 |
||
| I saw no other than to make a
level indicator. It is comprised of several glass reed switches encased
in a waterproof tube. A doughnut magnet slides up and down the tube as
levels change which activates the reeds sequentially. Simple enough, but two problems arose: -When the magnet is between reeds, sometimes neither would be active, and other times 2 at the same time. -As the doughnut shaped magnet passes over the reeds, the poles change creating a null area, thus releasing the reed switch in that position. Some electronics is in order! I am so glad I learned to program microcontrollers. The unit ( just past the testing phase ) software and schematics for the pair of PIC16C57C microprocessors is here. As can be seen in the photo, the end of the
pipe is plugged off. I used some Goop and the a soldering iron to weld
the plastics together. The plastic pipe has a threaded section on the
end, so we just adapted it up to the size for the hole in the tank, then
to a fitting large enough the house the board for the sending unit. |
||
 The rollers for
sliding doors |
|
|
Day 318:
9 hours - Mounted fittings on septic tank, entry panel, rollers, test fit level
sender.
to DAY 317 |
 More than radios! |
to DAY 319 |
|